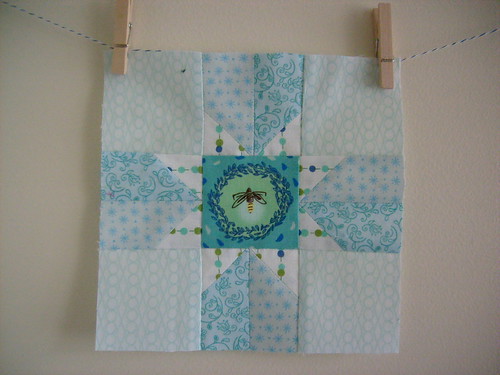
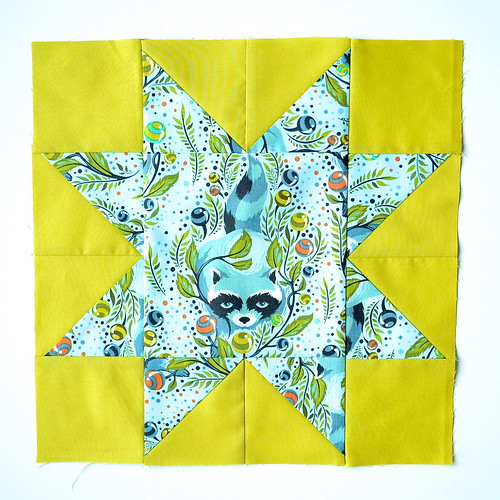
Anyway, at the time I was doing my block a day July challenge, and I decided to scale down this star block to 6 1/2" so I could use it in my quilt.
This is my 6 1/2" version, liberty on a low volume background. It's actually a slight variation on Jennie's original block, because it was easier for me to figure out that way. As a result, my 12" version of this block is slightly different to Jennie's. (If you're curious, my block is a true nine patch, with all nine patches being squares of the same size. Jennie's is a variation on a nine patch - there are nine patches which come together to form the block, but they are not all the same size).
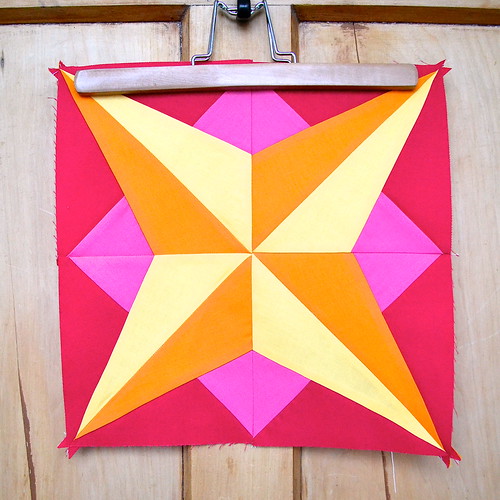
Anyway, a couple of people have asked me for my method for making this block and Jennie from
Clover and Violet has very kindly agreed to let me link back to her original tutorial, so here are the measurements for a variety of different scaled star block sizes.
12" finished block - cut:
4 - 4 1/2" background fabric squares
1 - 4 1/2" star fabric square
8 - 2 1/2" by 4 1/2" background fabric rectangles
8 - 2 1/2" star fabric squares
9" finished block - cut:
4 - 3 1/2" background fabric squares
1 - 3 1/2" star fabric square
8 - 2" by 3 1/2" background fabric rectangles
8 - 2" star fabric squares
6" finished block - cut:
4 - 2 1/2" background fabric squares
1 - 2 1/2" star fabric square
8 - 1 1/2" by 2 1/2" background fabric rectangles
8 - 1 1/2 star fabric squares
3" finished block (for the truly insane) - cut:
4 - 1 1/2" background fabric squares
1 - 1 1/2" star fabric square
8 - 1" by 1 1/2" background fabric rectangles
8 - 1" star fabric squares
The method for constructing the block is exactly the same as that set out in the original
Clover and Violet scrappy stars tutorial. Once you have made the block it will measure 12 1/2", 9 1/2", 6 1/2" or 3 1/2" as applicable - the finished size above is once the block is stitched into a quilt.
Please let me know if you make a scaled star block using my measurements and Jennie's tutorial - I'd love to know about it (and you're more than welcome to add it to the
On the Windy Side Flickr group).


.JPG)


.JPG)