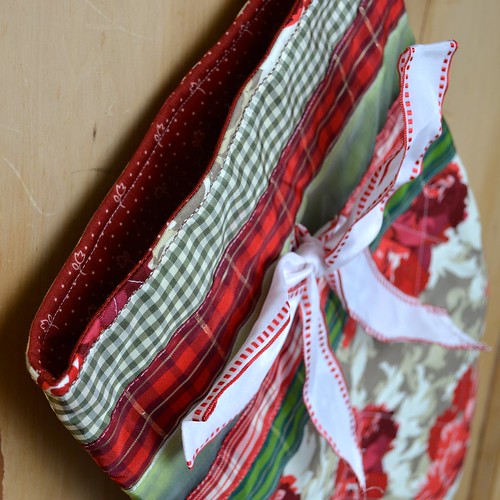
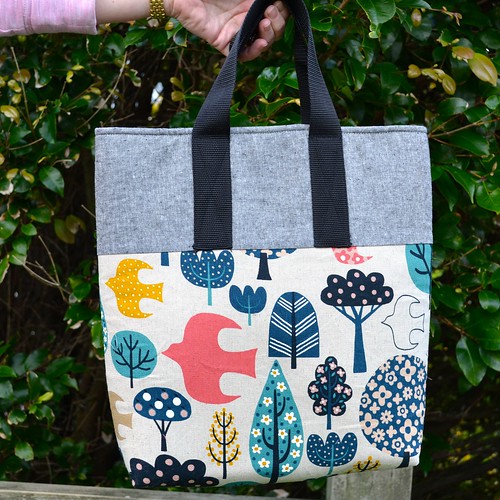
So last weekend I made yet another tote bag - what can I say? I'm obsessed!
You will need:
- half yard main exterior fabric
- fat quarter contrast exterior fabric
- half yard lining fabric
- half yard Soft and Stable (you can find it at By Annie's website, and for kiwis, Stitchbird now has it in stock)
- 2 yards webbing strap (I used 1.5" wide webbing)
- pins
- large quilting ruler
- scissors
- thread
- rotary cutter
- cutting mat
- sewing machine (preferably with walking foot)
- Clover wonder clips (optional but very helpful)
All seams are 1/4" unless otherwise specified.
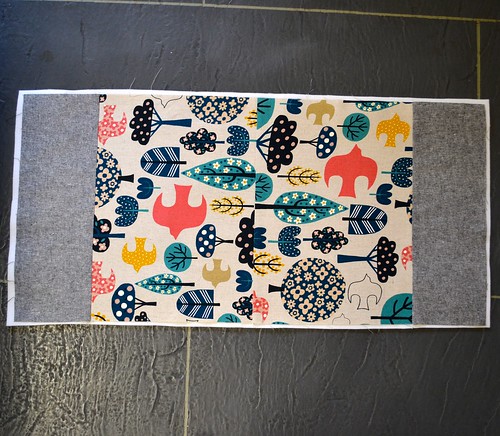
Step 1 - Create the fabric exterior of your bag.
If you are using a non-directional fabric for your main exterior fabric, cut a piece 22" by 16.5". If you are using a directional fabric for your main exterior fabric, cut two pieces 11.25" by 16.5". Sew the two pieces together along the long side so that when the seam is at the bottom of the bag, both pieces of fabric will be facing the correct way. Cut two pieces of your contrast exterior fabric 5.5" by 16.5". Stitch one piece of your contrast fabric to each end of the long strip of the main exterior fabric. Press all the seams neatly - on this project I recommend pressing to the side rather than open for extra strength.
Step 2 - Add the Soft and Stable.
Lay your exterior panel out on the Soft and Stable, and trim away any excess so you have a piece of Soft and Stable that is bigger than your exterior panel by approximately 1" all around. If your Soft and Stable is not very flat after being stored folded, you can iron it flat. I use the wool setting on my iron, and steam, with good results. Bear in mind that the Soft and Stable is synthetic material so should not be ironed at full heat - I haven't tried it but I expect it would melt.
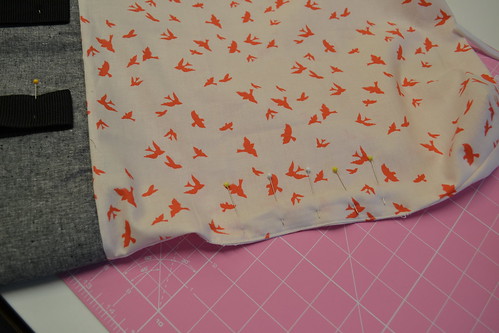
Smooth your exterior panel flat on the Soft and Stable, and pin in place. If you are going to quilt the exterior, you will want to use a good number of pins - spaced about every 4", to ensure that the fabric does not shift around too much as you are quilting. If you are not planning to quilt the Soft and Stable, you can use fewer pins.
For this sample, I decided not to quilt the exterior of the bag. Instead, I simply stitched around the very edge of the exterior panel, using a longer than usual stitch length. The stitching is within 1/8" of the edge of the fabric, so it will not be visible when the bag is finished. Either do this (using your walking foot) or quilt the exterior panel to the Soft and Stable using your preferred design (also using your walking foot).
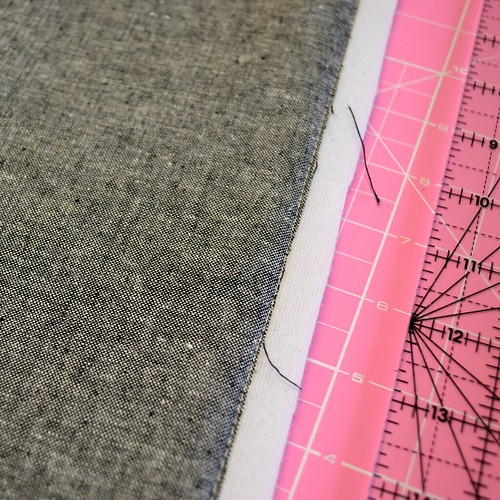
Using your rotary cutter and ruler, trim away any excess Soft and Stable.
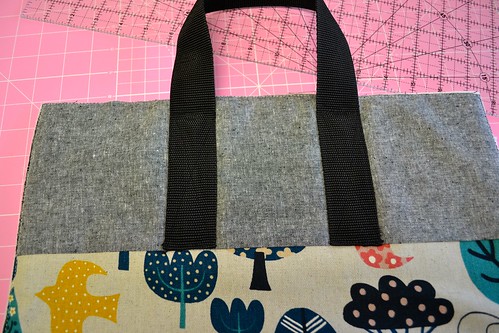
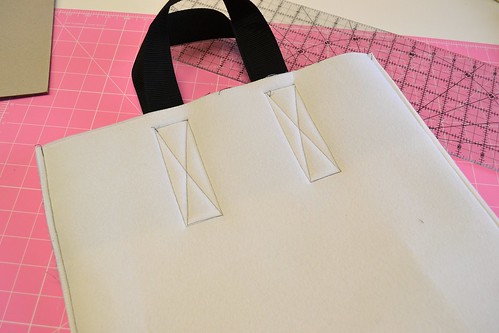
Step 3 - Add the straps.
Cut the webbing into two pieces, each approximately 1 yard long. This length should give you a bag that you can carry over your shoulder or in your hand. That said, the best strap length for you will depend on your own height, so you may wish to experiment with the strap length by pinning the strap onto the bag in approximately the right position and seeing how it feels.
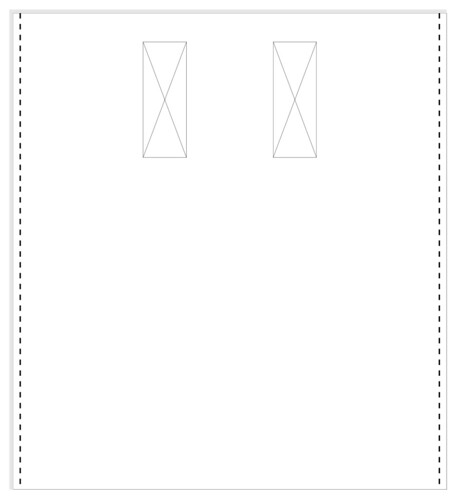
At each end of your bag, measure 4.5" from each side of the bag, and make a small mark.

To prevent fraying, tuck each end of the straps underneath by about 1/4" to 1/2". Pin one strap to each side of the bag, aligning the outer edge of the strap with the mark you made, and aligning the bottom of the strap with the seam between your contrast and main fabrics. Stitch each strap in place, making sure you leave at least 3/4" at the top of the bag where the strap is not stitched down. I like to stitch a rectangle with an X in the middle. I also usually change my thread colour so it matches the strap so that the stitching is almost invisible.
To prevent fraying, tuck each end of the straps underneath by about 1/4" to 1/2". Pin one strap to each side of the bag, aligning the outer edge of the strap with the mark you made, and aligning the bottom of the strap with the seam between your contrast and main fabrics. Stitch each strap in place, making sure you leave at least 3/4" at the top of the bag where the strap is not stitched down. I like to stitch a rectangle with an X in the middle. I also usually change my thread colour so it matches the strap so that the stitching is almost invisible.
Step 4 - Complete the exterior.
Fold the exterior panel in half, right side in. Pin or clip along the sides, making sure that the seams are aligned. Stitch along the sides using your walking foot, backstitching at the start and end of each seam.
I generally prefer to stitch from the fold to the top of the bag - this way there is less chance of having a pucker at the fold. I also usually stitch along these seams twice, for additional reinforcement (alternatively you could stitch a straight seam and then a zig-zag seam right at the edge for reinforcement - I didn't do this because I was working on my Juki which is straight stitch only). Remove pins or clips from bag.
I generally prefer to stitch from the fold to the top of the bag - this way there is less chance of having a pucker at the fold. I also usually stitch along these seams twice, for additional reinforcement (alternatively you could stitch a straight seam and then a zig-zag seam right at the edge for reinforcement - I didn't do this because I was working on my Juki which is straight stitch only). Remove pins or clips from bag.
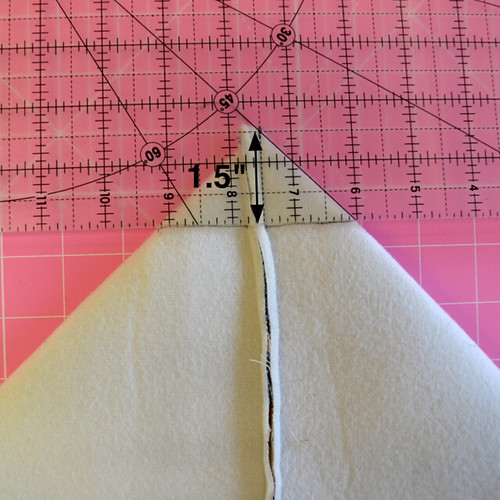
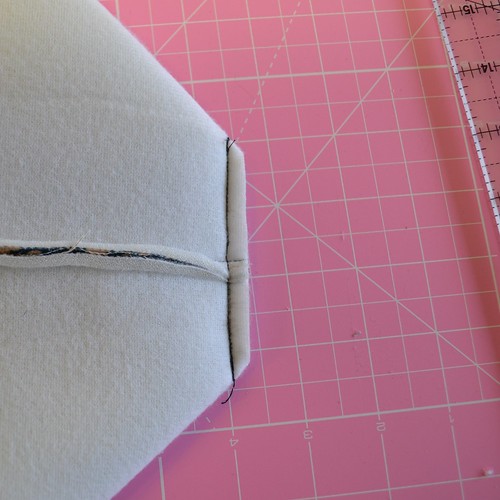
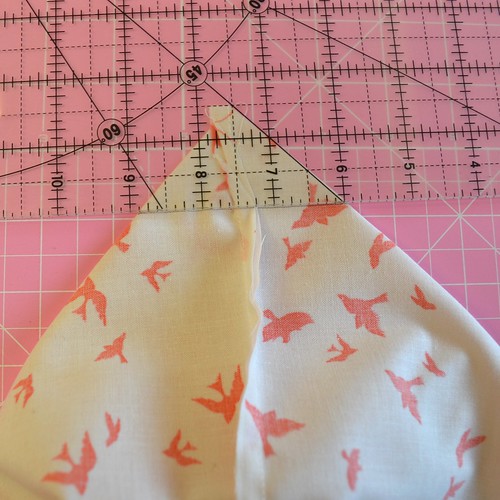
Box the corners of the bag by pushing the corners out and aligning the side and bottom seams. Using your ruler, draw a line perpendicular to the side seam, 1.5" away from the point of the corner. Most quilting rulers have a 45 degree line on them which should help with this step.
Pin so that the corner of the bag is sticking out and you can stitch along this seam. Repeat for the other corner of the bag.
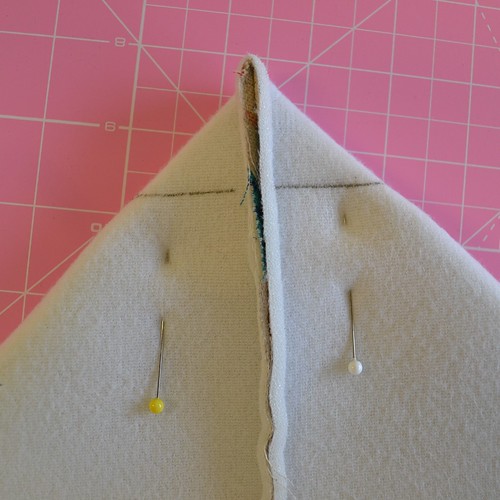
Stitch along each line, using your walking foot, and backstitch at the start and end of each seam. Again, I like to stitch these seams twice for extra reinforcement. Trim away the excess by cutting 1/4" from each drawn and stitched line.
Turn your exterior right sides out.
Pin so that the corner of the bag is sticking out and you can stitch along this seam. Repeat for the other corner of the bag.
Stitch along each line, using your walking foot, and backstitch at the start and end of each seam. Again, I like to stitch these seams twice for extra reinforcement. Trim away the excess by cutting 1/4" from each drawn and stitched line.
Turn your exterior right sides out.
Step 5 - Create the lining.
Cut a piece 31.5" by 16" for the lining (yes, this is slightly smaller than the fabric you cut for the exterior). Fold in half, right sides together. Pin or clip along the sides. Stitch along one side, backstitching at the start and end of each seam. For the other side, stitch the first 5" or so as normal, then backstitch a couple of stitches. Increase your stitch length to almost the maximum, and then stitch another 5" with the longer stitch length. Return your stitch length to normal and backstitch a couple of stitches again, and finish the seam with a normal stitch length. The part with the long stitches will be unpicked at a later stage for use as a turning gap - I simply find this easier than leaving an actual gap. As with the exterior, I generally prefer to stitch from the fold to the top of the bag. Box the corners of the lining in the same way as you did for the bag. Leave the lining with the right side facing in.
Step 6 - Add the lining to the bag.
Pin the loose part of the strap to the exterior of the so it does not get in the way at this stage.

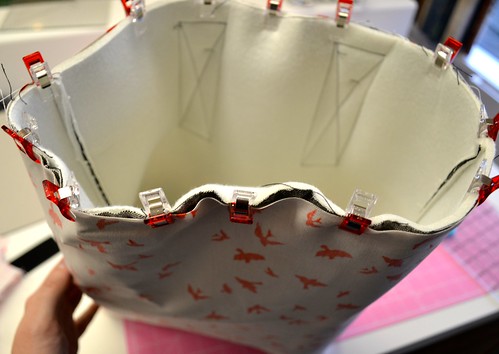
Put the exterior part of the bag inside the lining, so the right sides of both are touching. Align the side seams of the lining and the exterior. Pin or clip along the raw edge to hold the two in place.
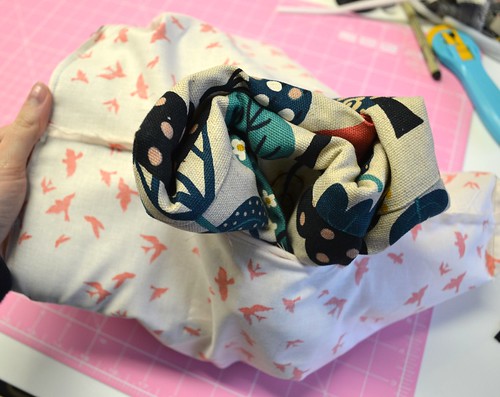
Stitch the exterior and the lining together at the top of the bag using your walking foot, and going slow and carefully because of the bulk in certain places. Unpick the long stitches on one side of the lining, and turn the bag out through the gap. Push the exterior and the lining out.
Close the turning gap by tucking the raw edges inside and stitching close to the edge.
Push the lining inside the exterior of the bag.
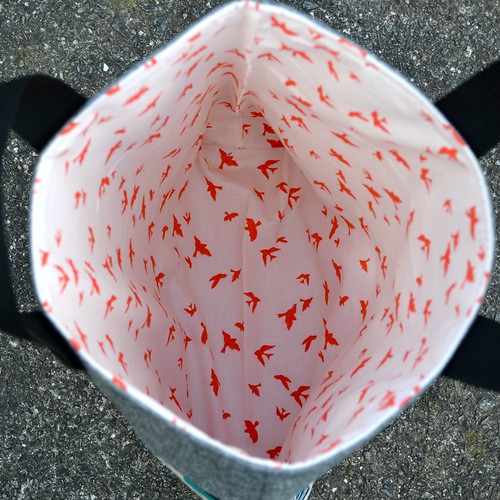
I often find it's useful to press along the top of the bag at this stage to get a neat seam, but be careful of touching the straps with your iron. Clip or pin along the edge, and then top stitch using your walking foot and a slightly longer than usual stitch length to create a neat finished edge at the top of the bag. Stop and start your top stitching so it is under a strap for maximum neatness.
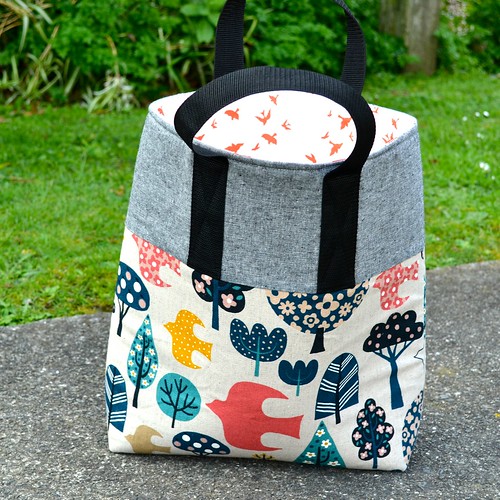
Voila - you have a nice structured but light tote bag ready for use.

I hope you've enjoyed this tutorial - let me know if you have any questions. If you make a bag using this tutorial, I'd love to see it - you can add it to my flickr group or flick me an email directly.