Showing posts with label Open wide pouch. Show all posts

Tuesday, 17 February 2015

Selvedge pouch

So I couldn't really go to QuiltCon without making at least one thing to take with me.


I needed something to put all my class gear in, so I stitched some selvedges I saved onto a muslin background and then used the pieces to put together this pouch.  It's a variation on the noodle-head open wide pouch that I always use - I just didn't box the corners.


I quilted the panels onto regular batting, using Aurifil 28 weight thread on the top.  I love the way the heavier thread has resulted in really nice defined stitches.  I like making pouches this way because they feel soft and a bit more protective, but I don't have to much around with interfacing (which I kind of hate).

Follow on Bloglovin

Monday, 24 November 2014

#igminiswap

I haven't been swapping much this year, but when I saw heaps of my online quilting buddies signing up to the #igminiswap being run on instagram, I couldn't resist.  It's being run by Sandy aka @curly_boy1, and the mailing deadline for international participants (i.e., me) is coming up soon.

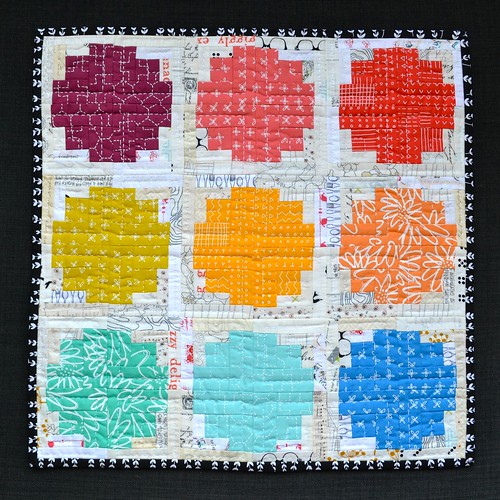
igminiswap quilt

This is the mini quilt I've made for my partner.  I wanted to use some of the very special handprinted fabrics I got from Karen Lewis Textiles (formerly Blueberry Park).

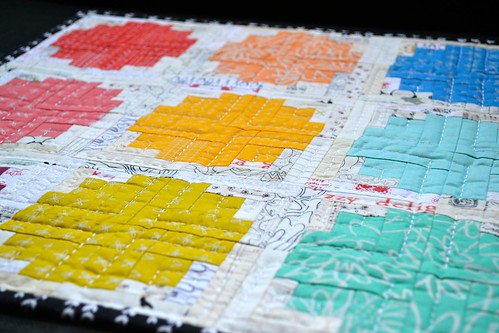
igminiswap quilt

This log cabin variation, which uses wide logs and narrow logs (which are half the width of the wide logs), is something I've been wanting to play with as well.  I know my partner likes a low volume background, so it seemed like the perfect way to let the hand printed fabrics shine.

igminiswap quilt

Hopefully this doesn't give the game away, but my swap partner has some mad machine quilting skills, so I decided to take the complete opposite approach and hand quilt this mini.  I've been enjoying hand quilting a larger quilt but it's taking FOREVER, so it was nice to have a quicker hand quilting project!  I used Aurifil 12 weight thread in white (2024) and I love the effect.  I actually bought a box of assorted 12 weight threads (this one) because I see more hand quilting in my future.

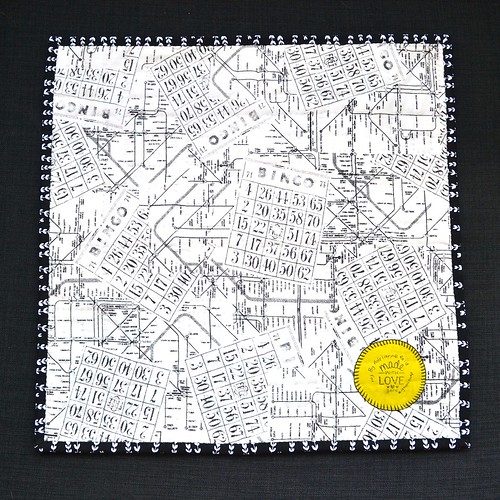
igminiswap quilt

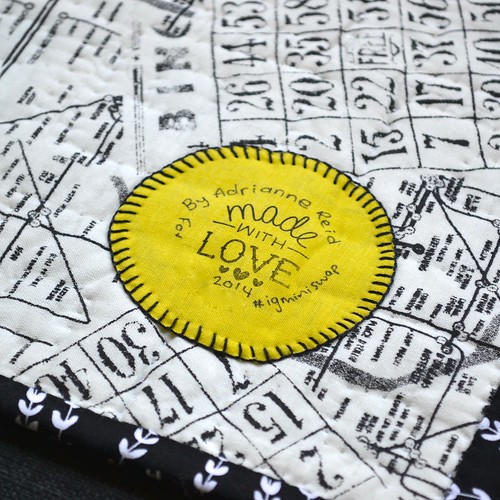
I bought a cute "made with love" stamp from Typo a couple of months ago, and I've been waiting for the chance to use it.  I used permanent fabric ink with the stamp and then added my own name and my partner's name (edited out in these photos) with a fabric marker.  The hand-worked blanket stitch is kind of my label signature now.

igminiswap quilt

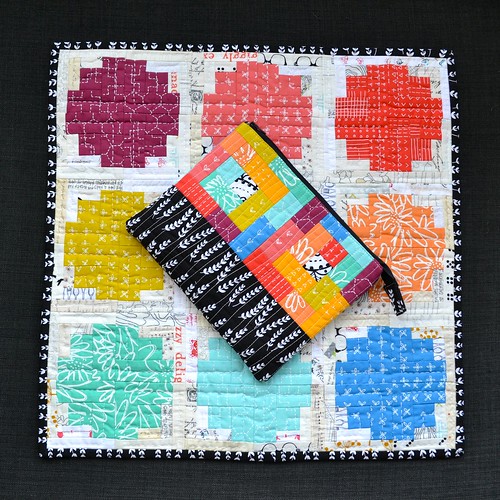
I had a few scraps left over from cutting the logs for my mini quilt, so I decided to use them to make a cute little pouch to go with the mini.

Scrappy stitching pouch

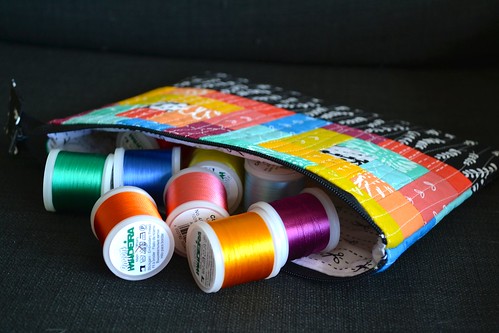
I'm not sending the threads but they just looked so pretty with the colours of the pouch!

Scrappy stitching pouch 

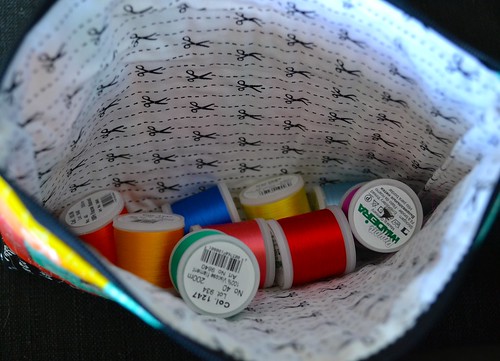
My partner can use this pouch for whatever she likes.  But, it does fit lots of threads!

Scrappy stitching pouch 

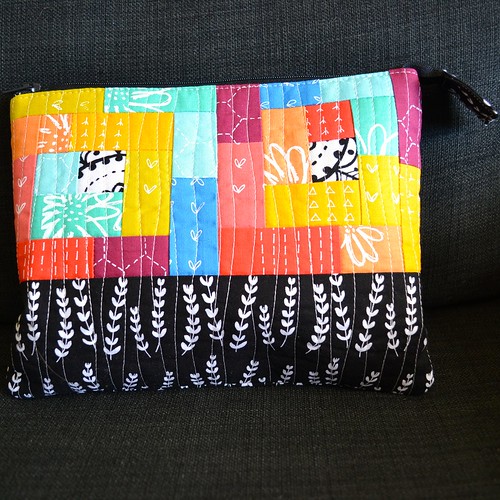
As usual, I used the open wide pouch tutorial, but made a fairly random size (basically the size my scrappy panels came out) and didn't box the corners.  I quilted the pieced exterior to a scrap of batting to give the pouch a bit of body without having to use interfacing (I hate interfacing so much!).

Scrappy stitching pouch

I'm really happy with how this mini turned out, and I enjoyed making it.  I really hope my partner likes it!

Have you been making things to swap lately?

Quilt Stats 
Pattern: I think this is a traditional block, but I did the quilt math myself
Finished Size: 18" by 18"  
Fabric: various low volume fabrics, Pretty Potent Co-ordinating Solids Fat Quarter bundle, printed by Karen Lewis Textiles
Backing: Ephemera
Binding: Print from Lotta Jansdotter's Sylvia line
Pieced and quilted by: me

Follow on Bloglovin

Tuesday, 27 May 2014

A Man Bag for Dad

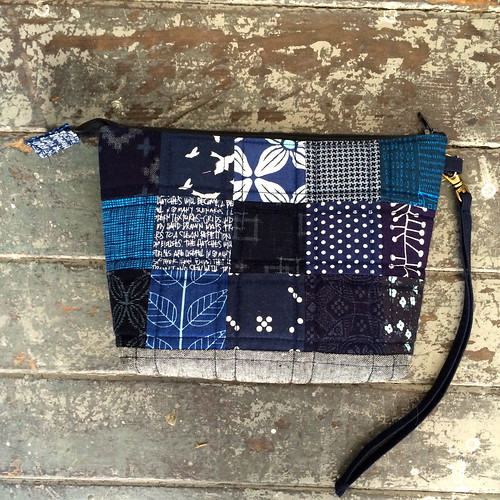
It was my Dad's birthday last week, and I made him a man bag.  He's recently added a glasses case to the usual paraphernalia of wallet, keys and phone, and pockets are just not cutting it any more.

Man Bag for Dad 

I made this wee bag using generally the same technique as Noodlehead's open wide pouch, but my own measurements.  The 15 different navy prints are scraps left over from a quilt which has been cut out but not sewn up yet, and of course I had to sneak some Yarn-Dyed Essex Linen in black in as well.

Man Bag for Dad

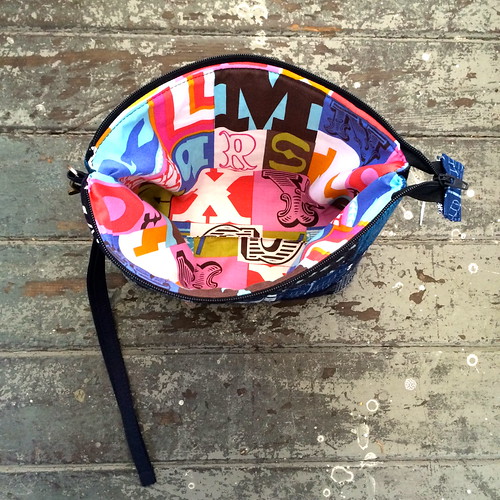
The interior is a bright and fun alphabet print which has been waiting in my stash for a while!  You can see in this picture that the bag is standing up by itself, and that's because I used Soft and Stable again.  I really love it - it's given this pouch such great body without begin at all stiff or difficult to use.

Anyway, this was a nice little project to make for my Dad and also gave me the chance to use my Juki for something other than pure quilting.  It chomped through the multiple layers beautifully!  Dad is pleased which is the main thing (although I think he secretly wanted something more sweary).

I will be linking up with finish it up friday at crazy mom quilts in due course.

Follow on Bloglovin

Thursday, 27 March 2014

Scrap pile to kindle cover

I've been really busy at work lately which means I'm not really getting any sewing time during the week.  It's not ideal but it does reflect the fact that I'm doing some interesting stuff at work so life's not all bad!  Anyway, that's the reason that this weekend, I really needed an instant gratification project - something I could knock out from start to finish in a couple of hours.

Scrap pile

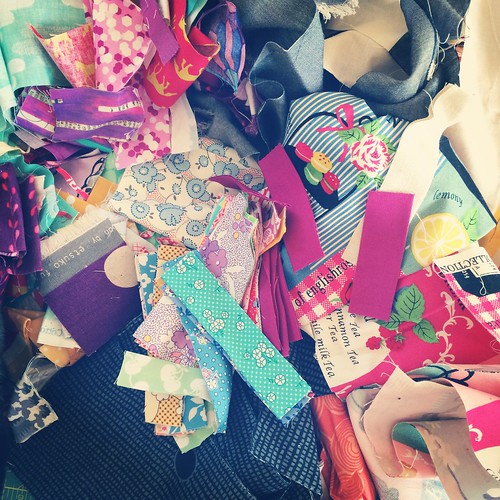
I started with my scrap pile and pulled a few random bits and pieces to improv piece together.  I then quilted my improv panels with straight lines and turned them into a simple pouch for my kindle.  Of course, I used my favourite open wide pouch tutorial from Noodlehead, except that I didn't box the corners and I didn't use any measurements.

Scrap pile kindle cover

Putting the zipper in took me far longer than it should (I sewed it facing into the lining, twice), but now that the pouch is done. I really love it.  The cute little bunny zipper pull just adds to it and having a little something handmade in my handbag makes me happy.

Tell me - do you like to have a little handmade goodness in your life too?

Follow on Bloglovin

Friday, 24 January 2014

Little Fox Sewing Machine Cover and Pouch

This is my last post about the handmade items I made for Kelsey from Everyday Fray as part of our skills swap.  The thing that Kelsey was really keen to get was a sewing machine cover, and since I had so much fun making this one as part of the Sew Sew Modern swap, I was more than happy to oblige.

Lil Fox sewing machine cover and pouch 

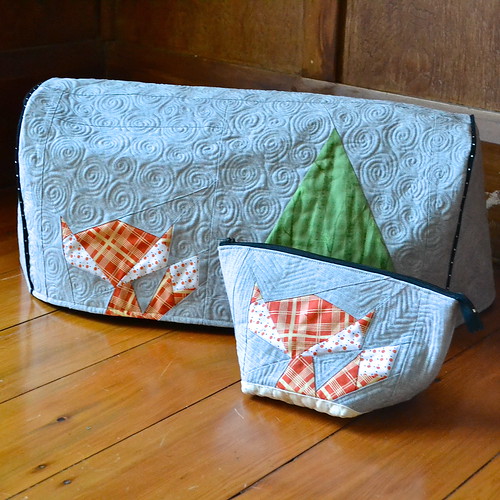
For the shape of the cover, I used this pattern, which I already had.  Kelsey's sewing machine is a Janome which is set into her sewing table, so I had to tweak the shape a bit to fit.  Drafting the new shape and calculating the size of each panel was actually quite fun (yes, I'm a nerd!).  You can see how long and low it is in the picture below (cat for scale).  The little paper pieced foxes (made using this pattern) are really cute and were fun to stitch up.

I know Kelsey is as much a fan of linen as I am, so I decided to use some Essex yarn dyed linen in steel  as the background for both the sewing machine cover and the matching pouch.  I quilted the exterior of both pieces quite heavily, the sewing machine cover with swirls, and the pouch with echo quilting around the fox. I love the texture of this kind of heavy quilting, but I have to admit that it did make assembling the cover and the pouch a little bit challenging.

Sewing machine cover - cat for scale 

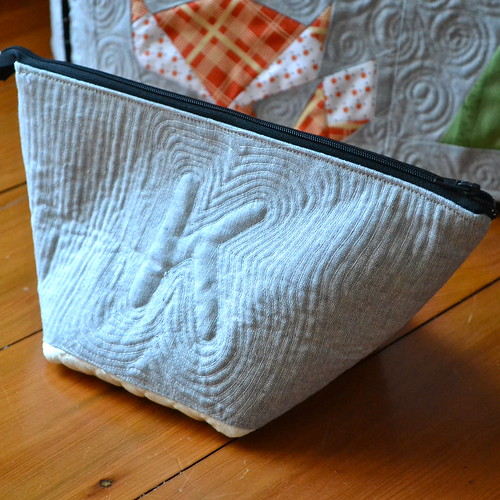
For the pouch, I used my old standby, the open wide pouch from noodlehead. For the back of the pouch, I traced around a "K" with a water soluble pen, and then echo stitched around it.  Once the marking was removed, it left a raised initial which I think is quite cool (and maybe a little bit more subtle than appliqué, for example).

Lil Fox Pouch - back

So that's what I made - it was a lot of fun and I'm really pleased with how these items turned out.  I'm even more pleased that Kelsey likes them (check out her lovely post here, not least because I took these photos at about 7am when the light was less than ideal and her pictures are much better!).

Have you ever done a skills swap?  This was my first one and I'm thrilled with how it went.

Follow on Bloglovin

Tuesday, 14 January 2014

A couple of zip pouches

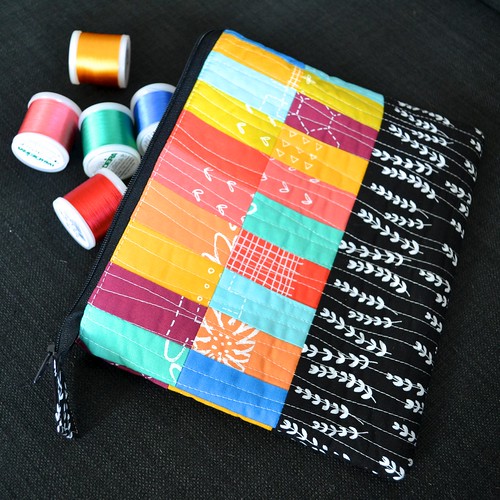
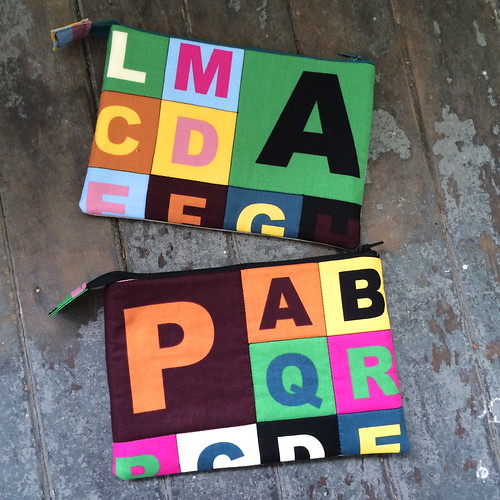
This weekend, at my brother's request, I made him a pencil case.  I used some amazing colourful First of Infinity fabric to piece a rude word for the front, and a bigger piece for the back.  I used Noodlehead's open wide pouch tutorial to make these, except I quilted the exterior and didn't box the corners.

Funny pouches 

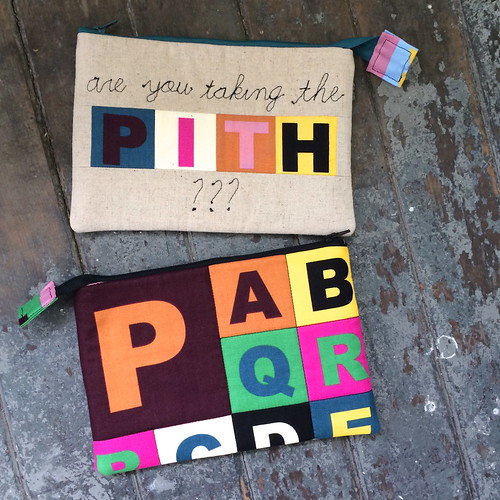
I had so much fun making a pouch for my brother that I decided to make one for my mum.  She wouldn't appreciate a sweary pouch, but she can't resist the word pith.  It makes her laugh every time.  So I made her a nearly-but-not-quite sweary pouch.

Funny pouches

The cursive letters were done by tracing the writing with a water soluble pen and then free motion quilting over the lettering.  My quilting is not perfect but I still love the effect.

Have you every gotten carried away making something and ended up making multiples?

By the way, if you're thinking about participating in the 2014 Pantone Quilt Challenge (or frankly, even if you're not), you should head on over to Play Crafts and check out Anne's For the Love of Colour post on Radiant Orchid.  I'm learning so much from these posts and this is a particularly good one!

Monday, 16 December 2013

Skills Swap - what I sent

Several months ago I said I would be interested in a skills swap.  I was keen for a pair of hand knitted socks, but lacking the skills to actually knit them myself, I offered up a quilted item made by me in exchange for the socks.  The lovely Kelsey of Everyday Fray put her hand up and so we have swapped!  Now that my items have arrived with Kelsey, I'm very excited to share them with you.

Lil Fox sewing machine cover and pouch

The thing that Kelsey actually asked for was a sewing machine cover.  She left it to me to choose the design, but we did discuss cute animals, including foxes.  I'll share more details of these items in a later post, but the sewing machine cover is a modified version of this pattern, and the little fox is made using this pattern.  I also made Kelsey a matching pouch using my favourite open wide zipper pouch tutorial from noodlehead.

Kelsey's stocking

Since it's so close to Christmas, I thought it might be fun to include something Christmassy as well.  I made this stocking, and a matching one for Kelsey's husband, using my own pattern.  It was really fun and I think I will have to do a whole set for my family one of these days.

AMH All Day mini quilt

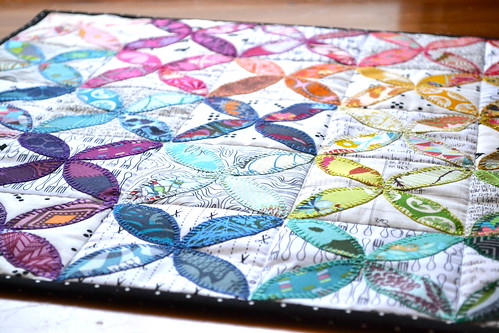
The final handmade item that I included is this mini quilt.  All the coloured petals are Anna Maria Horner fabrics - 100 different ones in total.  Yes, I had all of these (and more) in my stash already.  I went for a kind of rainbow effect on a crisp white low volume background.  I'm very happy with how this mini turned out, and I think I will have to make another one for myself.  Good thing I love that hand done blanket stitch appliqué so much!

Knitsch yarn

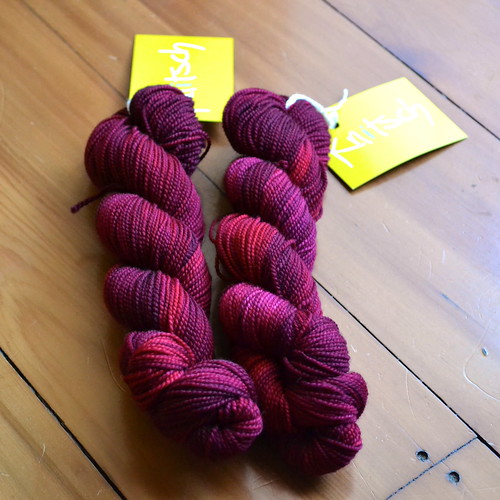
Kelsey and I also agreed to include some swag in our parcels.  This locally produced knitsch sock yarn is particularly lovely (it's actually what my mum is using to knit me another pair of socks) and with a name like "Mad Blood Stirreth", how could anyone resist?

Lace yarn

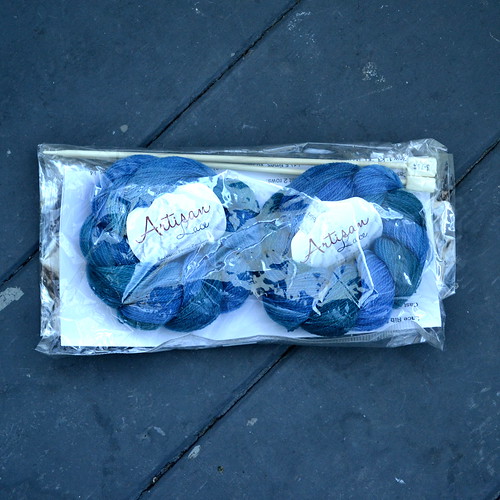
At the same time I was buying the sock yarn, this Artisan Lace yarn kit caught my eye.  It has two skeins of yarn, three different lace scarf patterns and the right size knitting needles as well.  I have no idea if Kelsey likes knitting lace, but the scarves looked so pretty knitted up in the shop.

There are more photos and details to come on my handmade items, but I have to say that doing a direct swap like this was a lot of fun.  I found it more satisfying than making something for a relatively anonymous partner and I would definitely do something like this again.  Although Kelsey and I sent our parcels on the same day, NZ Post seems to be taking its own sweet time with delivering Kelsey's parcel to me, but I am very excited to receive it and hope to share the contents with you shortly!

Linking up with:

Fresh Poppy Design  Sew Cute Tuesday  My Quilt Infatuation

and with Finish it up Friday at crazy mom quilts.

Follow on Bloglovin

Monday, 24 June 2013

Happy (Zombie) Mail

Monica Solorio-Snow (aka the Happy Zombie) has probably the funniest quilting blog I’ve ever read.  Seriously, if you don’t believe me, read this.  She is also the genius behind the Ron Swanson Quilt (I love Parks and Recreation but we are so far behind in New Zealand, please don’t tell me anything that has happened in, oh, about the last 2 years). 
 
Hello Happy Zombie 
 
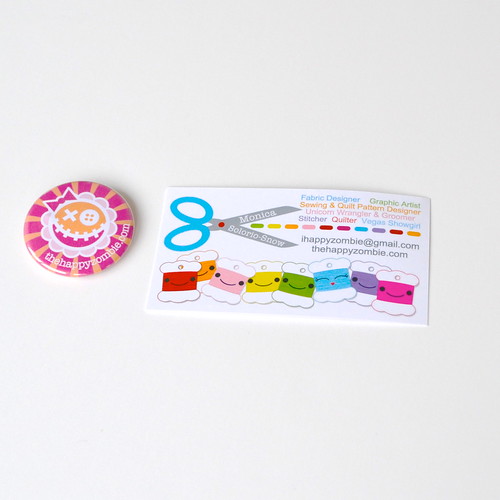
A few weeks ago I was lucky enough to win a bright and funky Happy Zombie badge (or as Americans inexplicably like to say, button) from Monica in a giveaway. It arrived recently and is now one well travelled little badge/button.  I love it, and that business card cracks me up.
 
Happy Zombie badge and happy little pouch 

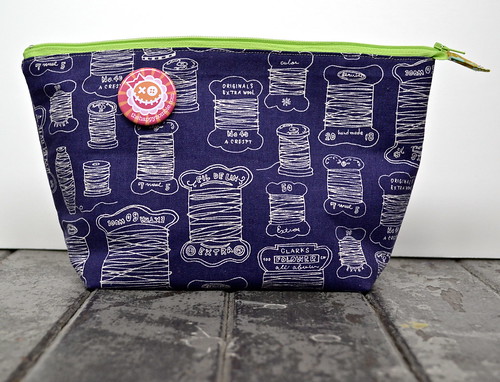
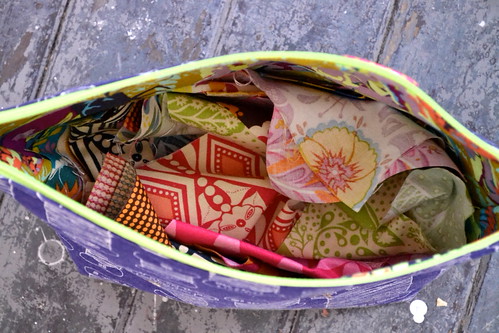
This badge/button is now living on my first ever zipper pouch, which hangs out in my sewing room and holds my precious Good Folks scraps.  It feels right to keep things I have received through online quilty connections together.
 
Precious fabrics
 
So, whose face would you put on a quilt?


Monday, 8 April 2013

Bold and bright

Melissa aka Ms Midge was the winner of my Quilting Gallery blog hop party giveaway, and she gave me the fantastic inspiration words of "bold and bright".

This beautiful washi fabric has been waiting in my stash for the right project for a while.


The outside of the pouch doesn't do too badly on the bold and bright front, but the inside is where the action is really at.


Yup, definitely bold and bright!


This little pouch, with a few extra goodies, is on its way to Melissa.  I hope she loves it!  

As usual, I used my favourite pouch tutorial, the open wide zipper pouch from Noodlehead, except that I didn't box the corners.  I would still really recommend the tutorial - it is excellent.  

Having made this pouch several times now, I have one suggestion which might be helpful to someone out there.  Anna suggests basting the zipper in place (by which I assume she means hand sewing it with big stitches) before sewing it in place, to stop it slipping around.  This is probably a great idea, but I am way too lazy for that kind of thing!  

I did struggle to keep the zipper in place the first couple of times I made this pouch, so I came up with a simple solution.  Instead of pinning through all three layers of lining, zipper and exterior at once, I first pin the zipper to the right side of the first exterior piece, and then lay the lining piece over it, and pin again through all three layers.  I've found this really helps to prevent the layers shifting around as I sew. Hopefully that makes sense - leave a question in the comments if it doesn't!

Linking up with:

Plum and June Better Off Thread Fresh Poppy Design

Thursday, 28 March 2013

Modernista Homemade Swap - Finished!

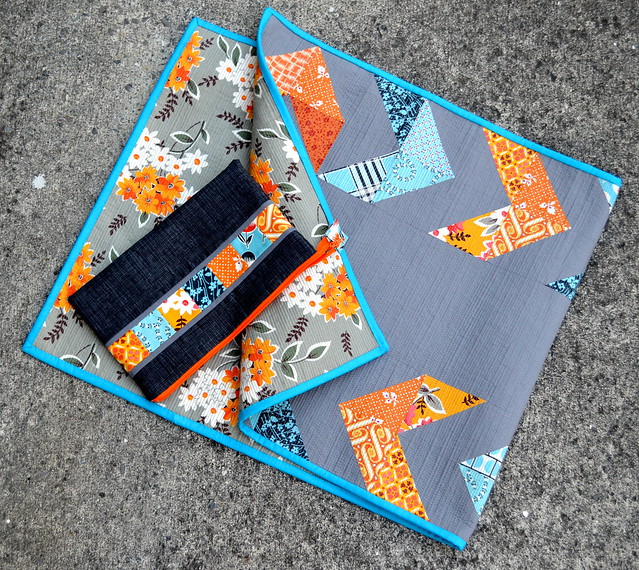
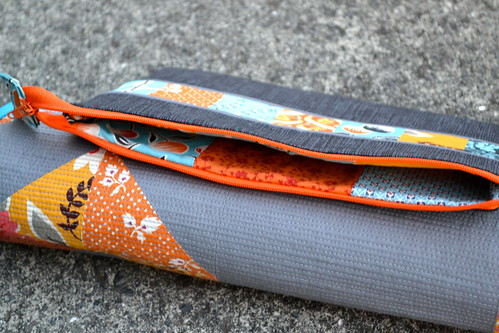
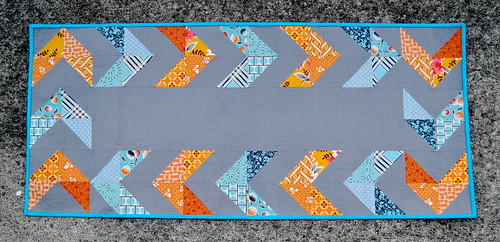
So I finished up my items for the Modernista Homemade Swap.  This is my first round in this swap, but it is the third round it has been running, and each time the participants make something for a specific room in the home, plus a little extra bonus item.  This round is for the living room, so I made a table runner for my main item, and a zipper pouch in co-ordinating fabrics for the bonus extra.


I had a request via flickr for details on the fabrics and patterns I used, so I thought I would share them here.  Starting with the pouch, I used my favourite pouch tutorial, the open wide zipper pouch from Noodlehead, with a couple of tweaks.

Items for Modernista Homemade

First, I pieced the body of the pouch using scraps from making the table runner.  The little blue and orange squares are 1 1/2" square (2" cut), with a solid grey strip 1/4" wide (3/4" cut) on either side.  Those pieced strips ended up a little longer than the 10" recommended for the open wide zipper pouch, but left it at that length, and  added the charcoal sketch fabric to either side to build the height up to around 7".

Pouch for Modernista Homemade

I pieced the lining of the pouch out of 4" squares, and then trimmed it down to the same size as the outer pieces.  From then, I followed the instructions in the open wide zipper pouch tutorial, except that I did not box the corners.  I like boxed corners on a pouch, but leaving it flat just felt like the right thing to do for this pouch.

Items for Modernista Homemade

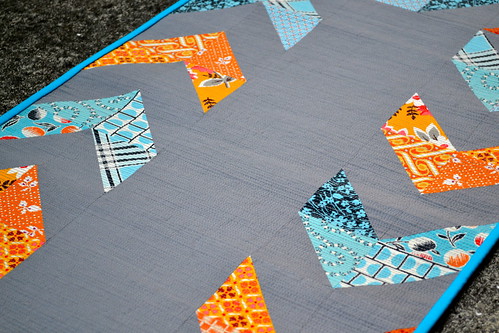
I didn't use a pattern for the table runner, but it's pretty simple to put together.  I cut 4" squares of the solid grey (I think it's Freespirit Designer Solid in Slate Grey) and 4" squares of an assortment of blue and orange fabrics (mostly DS Quilts, with a couple of Denyse Schmidt fabrics thrown in there).  I used those to make half square triangles, which I trimmed down to 3 1/2" square - so that the finished half square triangles in the table runner are 3" square.

Table Runner for Modernista Homemade

Creating the chevron design with the half square triangles is pretty simple, and you could definitely expand or reduce this design to fit whatever you're making, from a table runner, to a pillow, to a quilt.

Table Runner for Modernista Homemade

I backed the table runner with a Denyse Schmidt fabric from the re-printed Flea Market Fancy collection.  And yes, that dense dense quilting (sometimes called matchstick quilting) did take ages (each 6" section took about an hour to quilt).  I did learn a couple of tricks while doing it, so will post a tutorial with my thoughts in the next couple of weeks.

So I hope that's helpful - feel free to ask questions in the comments if you have any!

Linking up with Finish it Up Friday at Crazy Mom Quilts and TGIFF.