Showing posts with label improv curves. Show all posts

Tuesday, 20 January 2015

Argh my eyes!

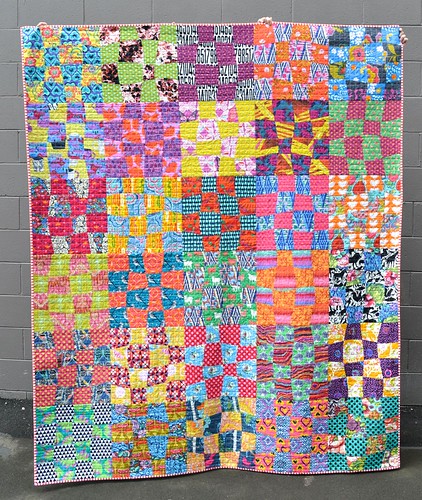
I've just been at Symposium, New Zealand's big national quilting conference, with workshops, lectures, social events and several exhibitions.  I entered two quilts in the exhibition, but only one was accepted (ultimately, it worked out for the best because the quilt that was rejected from Symposium was accepted into the QuiltCon exhibition).

Anyway, one of the rules for Symposium was that you could not have shown your quilt before, including on the internet.  I finished my quilt months ago, but I haven't been able to show it until now.  
Argh my eyes! 

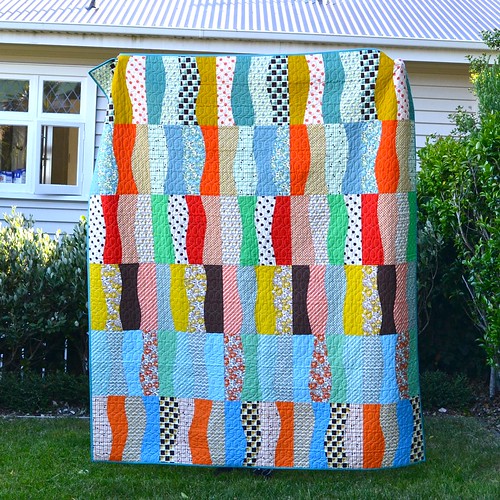
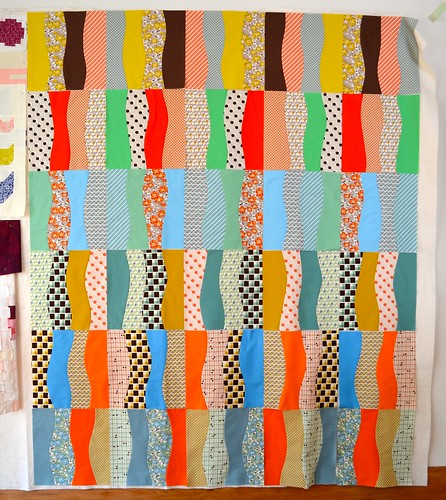
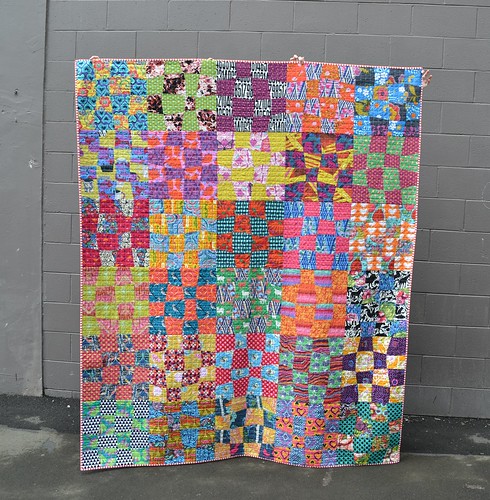
One of the exhibition categories was "alive with colour".  I decided to make a quilt to fit that brief.  When I first started quilting, I really struggled with quilts that were busy and full of colour.  I wanted to add a lot of white, or other neutral solids, and negative space.  As I've made more quilts, I have become much more comfortable with full-on colour and this quilt was my attempt to incorporate lots of bright, clashy, crazy prints while still creating an effect that is harmonious
Argh my eyes! 

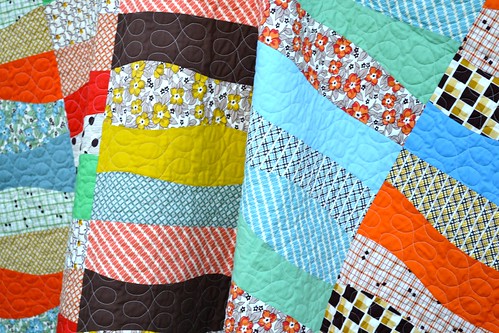
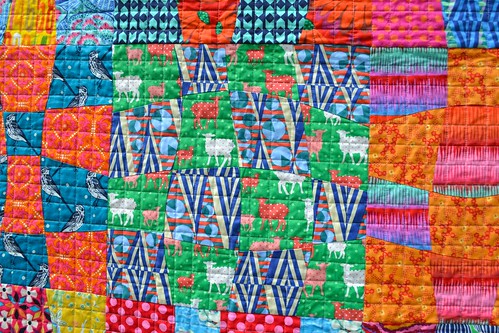
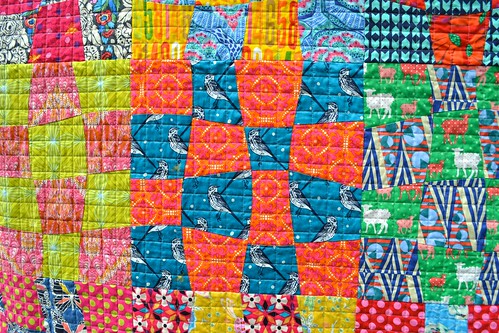
I've been enjoying experimenting with improvisational curved piecing lately, and this quilt uses curves cut without a ruler to add interest.  It's sort of a spin on the St Louis 16 Patch block that went crazy a couple of years ago, and is a great stash busting block.
Argh my eyes! 

Honestly, making this quilt was more challenging than I thought it would be.  I had to raid my friend Anne's stash because I ran out of fabrics that were quite crazy enough.  I ended up making five or six blocks that weren't ultimately used in the quilt because they didn't look right.  The layout was shuffled around many times.  It's really hard to photograph and looked more like vomit crazy than good crazy in the photos I took while working on it.  But, when it was finished, it was one of my favourite quilts I've made.
Argh my eyes!

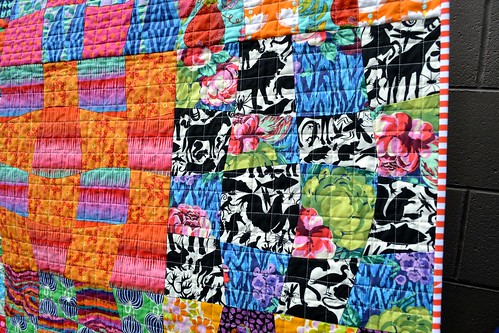
With a completely mad top, this quilt just needed simple quilting, so I stitched a 1" grid over the entire quilt top.  The red/orange and white stripe has been in my stash forever (I think it was in my first ever online fabric order!) so I was thrilled it made the perfect binding.
Argh my eyes!

Because of my teaching work, I had to enter this quilt in the professional category.  I really wasn't expecting to win any prizes - I just wanted to show my work.  For that reason, I was very thrilled to awarded a prize for best interpretation of the theme for this quilt.

I did a great workshop at Symposium, so I'll be sharing more about that soon, and I'll also be posting some photos of other quilts that caught my eye in the exhibition.

Quilt Stats 
Pattern: my own improv-ish design
Finished Size: 70" by 84"  
Fabric: 60 different fabrics - too many to list!
Backing: two different out-of-print Anna Maria Horner fabrics
Binding: Michael Miller Clown Stripe in Fire
Pieced and quilted by: me

I will be linking up at finish it up Friday at crazy mom quilts.

Follow on Bloglovin

Friday, 26 December 2014

Hadley Quilt

I finished stitching down the binding on my Hadley quilt a couple of weeks ago.

 Hadley Quilt

If you've been following the progress of this quilt, you've probably seen the front already (in this post). I'm really happy with how the front turned out - basically, for each row, I stacked five fat quarters and sliced them into four fairly even strips, creating improv curves as I did so.  I then trimmed the resulting blocks into nice even squares.  This trimming process left me with quite a few offcuts, which I used on the other side.

Hadley Quilt

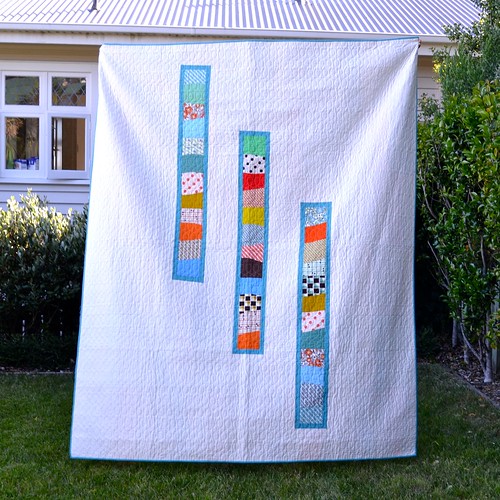
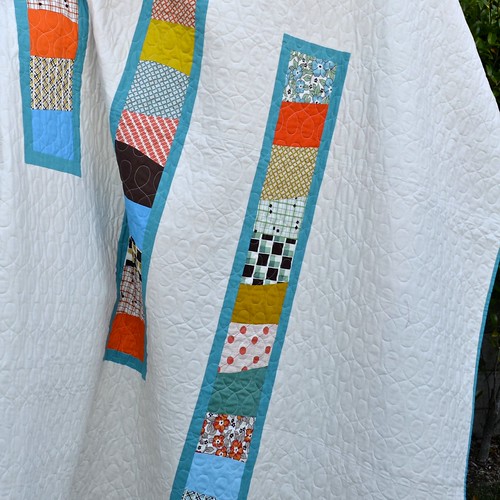
For this side, I really wanted to push the retro vibe I was getting from the Hadley prints.  At first I thought I would just set the pieced strips in the cream background fabric, but they didn't look quite right so I ended up framing them with a teal shot cotton.  Technically, this side is the back but I think I like it just as much as the front (and maybe more...).

Hadley Quilt

All that negative space meant that getting the quilting right was important.  This is a pretty big quilt (70" by 84") so I wasn't that keen to tackle it myself.  Instead, Sue Burnett quilted it for me using a digital pattern we found together.  I think the figure eight design is very characteristic of Denyse Schmidt's quilts and I thought it was right just with her fabrics.

Hadley Quilt

For binding, I used the same teal shot cotton that I used to frame the strips on the back.  It's a Kaffe Fassett shot cotton and super soft.  I don't know if I would want to use it for ultra precise piecing, but it makes the most lovely, almost silky, binding, and is a delight to hand stitch through.

Hadley Quilt

Finally, I thought I should include a photo of my quilt holder for these photos.  My youngest brother held this quilt up on his own (I made another quilt the exact same size recently, and my friend Lyndy and I could barely hold it up for photos working together - 84" is 7'!).  I think he is pointing at a speck of dust he wanted me to pick off the quilt.

Quilt Stats 
Pattern: my own improv-ish design
Finished Size: 70" by 84"  
Fabric: Hadley Fat Quarter bundle designed by Denyse Schmidt for Free Spirit Fabrics
Backing: I think it is Michael Miller Cotton Couture in Soft White
Binding: Kaffe Fassett Shot Cotton in Jade
Pieced by: me
Quilted by: Sue Burnett

I will be linking up at finish it up Friday at crazy mom quilts.

Follow on Bloglovin

Wednesday, 22 October 2014

WIP Wednesday

This weekend I started a totally new quilt - I have plenty of other things to be getting on with but couldn't resist.  I've decided to make a series of quilts using improv curves.  I've finished one improv curve quilt so far (I haven't shown it on the blog because it's for an exhibition where the rules require it not to be shown online), so this is the second, and I have ideas for a third quilt and a fourth quilt as well.

Hadley quilt in progress

I bought a bundle of Denyse Schmidt's latest line, Hadley, from Massdrop when they had it on sale.  I've seen quite a few people saying they don't love the inclusion of solids in this collection, but the solids were actually one of the things that sealed the deal for me.

Hadley quilt in progress

This is where my quilt is at so far.  I think I'll rearrange the order of the rows, but I'm liking the kind of crazy vibe.  I have quite a lot of offcuts from these blocks and I'm planning to put them together with some cream yardage to make a double sided quilt.

Have you ever made a series of quilts as a way of exploring a technique or idea?

I'm linking up with Lee at Freshly Pieced:

WIP Wednesday at Freshly Pieced

Follow on Bloglovin

Wednesday, 16 July 2014

WIP Wednesday

Well, technically, my part of this quilt is finished, so it's really someone else's WIP, but that still counts, right?

Cool stars

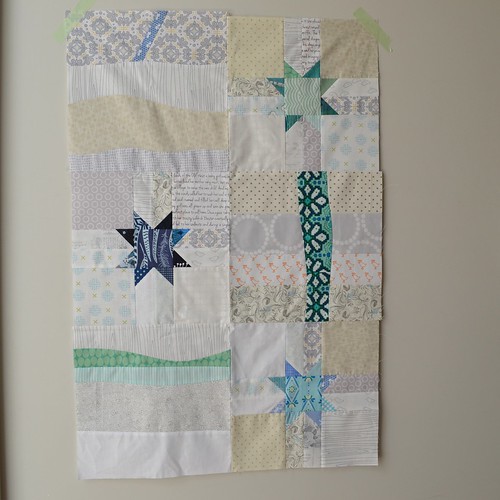
This is a quilt "chunk" that I made for my friend Jess from The Elven Garden. We are both part of a little bee called the Pinprov bee - there are just six of us and we are making blocks for each other based on images we've pinned on pinterest. Jess asked for pops of cool colour on a low volume background.

Cool stars

The first thing that popped into my head were these fun wee star blocks. I made three in different colours, using this Scrappy Star tutorial by Clover and Violet.

Cool stars

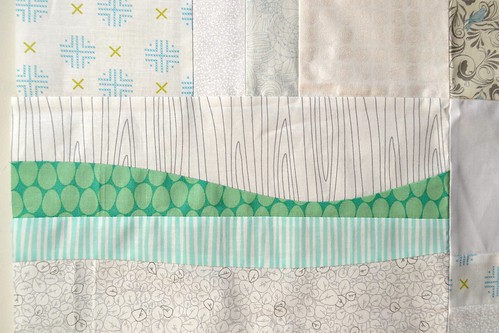
Then I needed to fill in the space around the star blocks. Some of the quilts Jess had pinned featured improv curves. I meant to make this year my year of getting comfortable with curved piecing, but it really hasn't been happening so far. Anyway, I decided to take the plunge and pieced some very simple improv curves. I used the method described by Anne from Play Crafts in this tutorial (hosted on Lily's Quilts) and the very similar method described by Rita from Red Pepper Quilts in this tutorial. Really, like they both say, improv curves are not so scary once you give them a try!

I really enjoyed making this chunk and I'm glad it gave me the opportunity and little push I needed to try improv curves. Expect to see more of them from me!

I'm linking up with Lee at Freshly Pieced:

WIP Wednesday at Freshly Pieced

Follow on Bloglovin