I entered three quilts in QuiltCon, and I was really stoked that one was juried into the QuiltCon exhibition. I hadn't share the quilt online previously, because I originally made it (together with my sister) for the New Zealand quilting symposium, which required that it not have been published before. It was one of a very few quilts which were rejected from Symposium, which meant I was a bit surprised when it was accepted into QuiltCon (which was MUCH more selective in terms of quilts entered compared to quilts accepted).
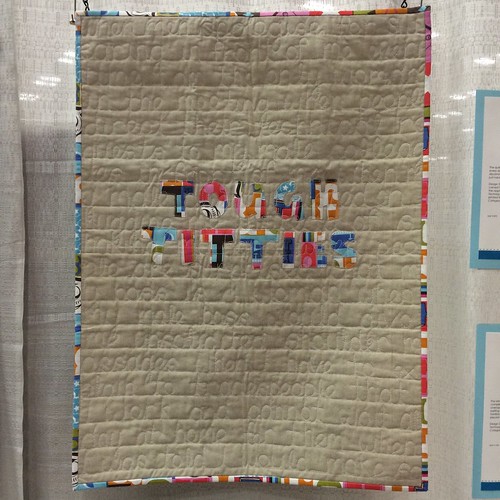
This is my quilt hanging in the QuiltCon show. It seems right to be sharing it on what will still be International Women's Day for many people, since it's a quilt with a feminist bent.
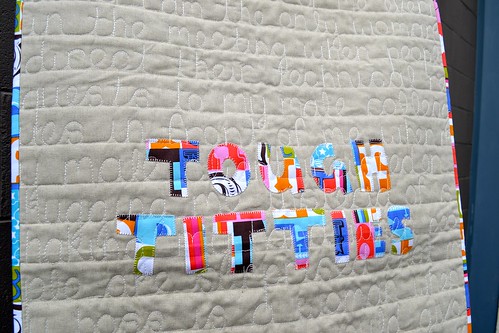
I have to confess that I'm a little bit nervous about sharing this quilt here. I try to keep the blog a nice happy place for sharing quilts and quilting techniques. However, quilts are one of the ways I express myself, and this quilt reflects my thoughts from a time when I was thinking a lot about feminism (something I think about more or less depending on what is happening in my life and in the news).
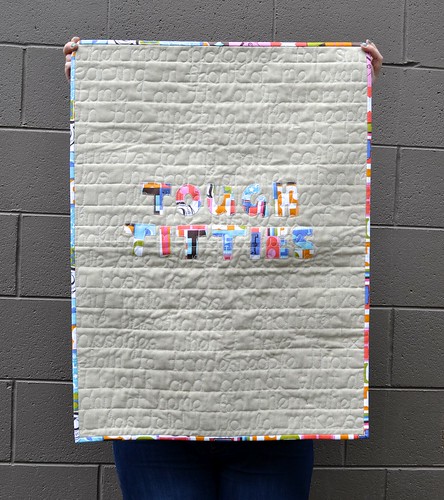
This is the description I gave for this quilt when I entered it in QuiltCon:
The quilting on this quilt recounts anecdotes of subtle but infuriating instances of every day sexism.
"Tough Titties" is a reference to the way this kind of discrimination is often dismissed and women are made to feel that they should just harden up and get over it. Don't miss the hand printed fabric on the back!
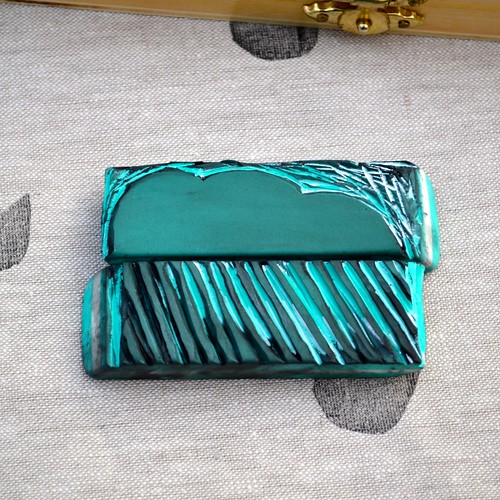
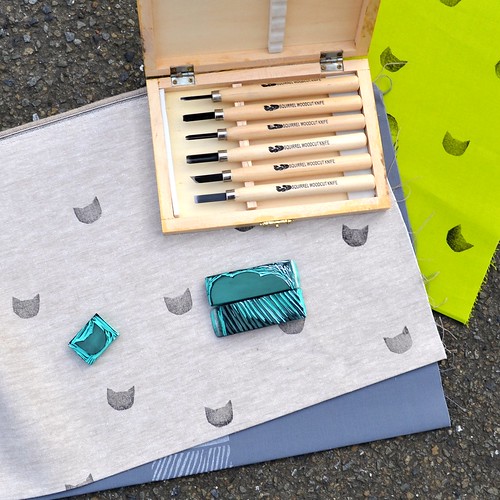
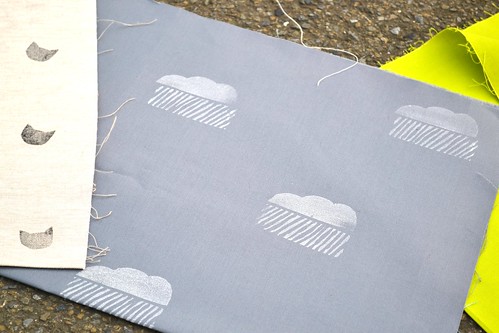
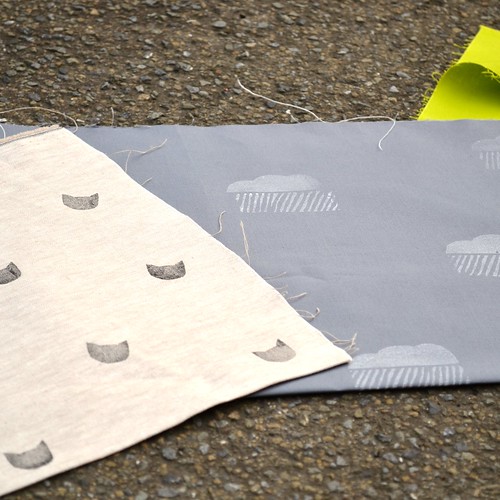
This quilt is a collaboration between me and my sister (who is not a quilter, but who is a feminist). She carved a stamp (out of a potato, no less) and used it to stamp the fabric used for the backing of the quilt. I did the appliqué and the quilting, and most of the binding (but I did insist that my sister hand-stitch one side of the binding so that she had a hand in the construction of the quilt). The words on the quilt come from experiences we've had, and a couple of anecdotes contributed by friends.

In construction, this quilt is pretty simple. I appliquéd the words "Tough Titties" to a plain linen background, using the blanket stitch on my sewing machine. I traced the capitalised letters from my own handwriting, because I felt a bit funny about using someone else's font for this quilt.
The quilting was done free-hand. I experimented with marking the letters on fabric and then quilting over the marked lines, but found that I was happier with the result when I just stitched freehand. I did mark some lines using my hera marker so that my writing didn't slope all over the place. I used a heavier than normal thread, 28 weight Aurifil in my favourite colour 2021, on the front of the quilt, and my usual Aurifil 50 weight 2021 on the back. I kept the thread colour quite similar to the fabric I was quilting on, so that people would have to get close to the quilt to read the words.
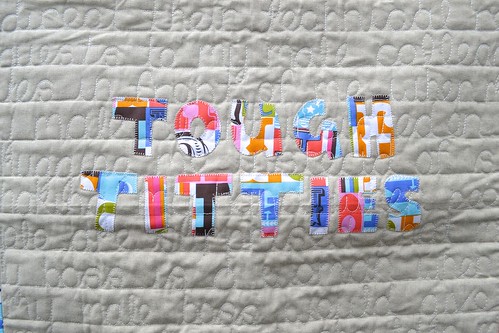
So yeah, that's the quilt I had in the QuiltCon exhibition. It didn't win any prizes, but it was a thrill just to have a quilt in the show. It's pretty different from many of my other quilts, and I guess one of the things I've taken away from QuiltCon is that I'm still happy making a variety of quilts in different styles depending on what suits my mood at the time.