Showing posts with label guest post. Show all posts

Saturday, 14 February 2015

Modern Marsala - a guest post for SewMamaSew

Hello lovelies.  You know that since Anne and I announced the 2015 Pantone Quilt Challenge: Marsala, I've been having fun starting on a Marsala Medallion quilt, and I've seen some awesome quilts underway on instagram (check out the tag #pantonequilt2015).


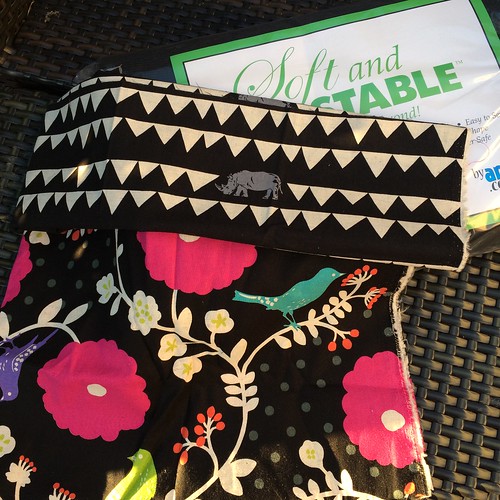
Anyway, today I am over at SewMamaSew with a round up of some modern Marsala fabrics, with a range of prints and solids from a variety of manufacturers.  Pop over and check out all the details.

2015 Pantone Quilt Challenge: Marsala

You can share our button at any time, and find all the details about the challenge under the 2015 Pantone Quilt Challenge tab here or at Play Crafts

Follow on Bloglovin

Friday, 21 November 2014

Guest post from my friend Anne: all the tote bags!

Hi everyone - my lovely friend Anne is guest-posting today about all the tote bags she has made using my tutorial.

Hi there! Anne here, one of Adrianne’s quilting friends. I am lucky enough to be in a quilting group (the Ratbags) with five lovely ladies, one of who is Adrianne.  

I am writing a guest post today about the tote bags I have now become obsessed with.  I watched as Adrianne made the first bag with cat fabric I brought back from Tokyo for her.  Then another appeared for Helen (another Ratbag) on her birthday.

I too am lucky enough to have a hand made item by Adrianne (a laptop sleeve made for Anne's birthday last year).  We had a quilting retreat in September and I watched as she whipped up a bag, which was used in the tutorial, and I thought maybe I should make one.  

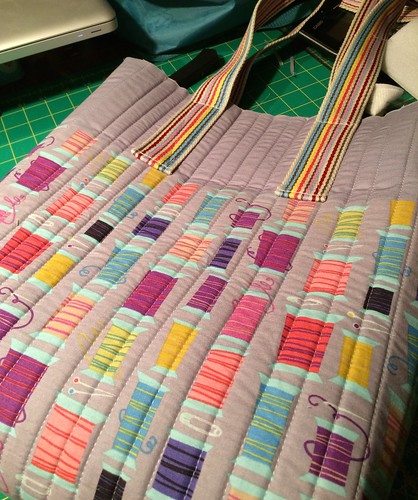
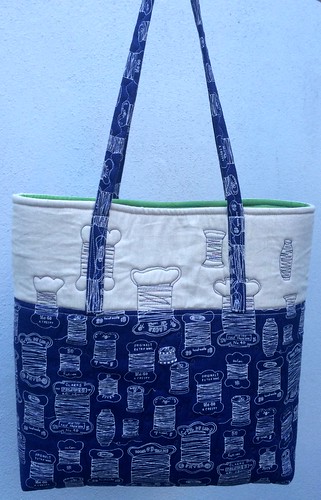
A few weeks later upon visiting Stitchbird I found some perfect striped webbing for handles and my first bag was made.

First tote bag

This Alexander Henry fabric was perfect with these straps.

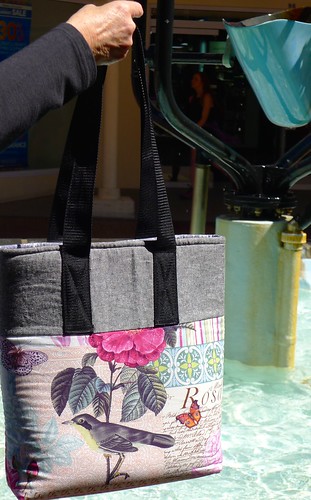
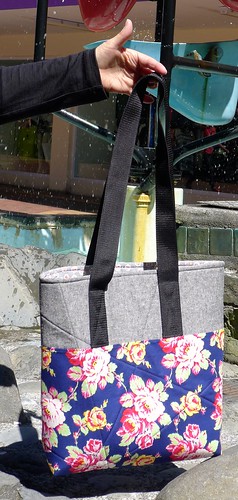
Then after another trip to Stitchbird, I found some fabric that had to be made into a bag, this time for my lovely Mum who helps me with my gardening.

Mum's bag front Mum's bag back

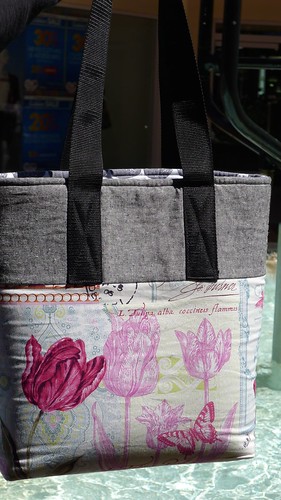
Then the wife of one of my wonderful staff members made enough lasagna to feed me for a week - that was another excuse to make a bag!


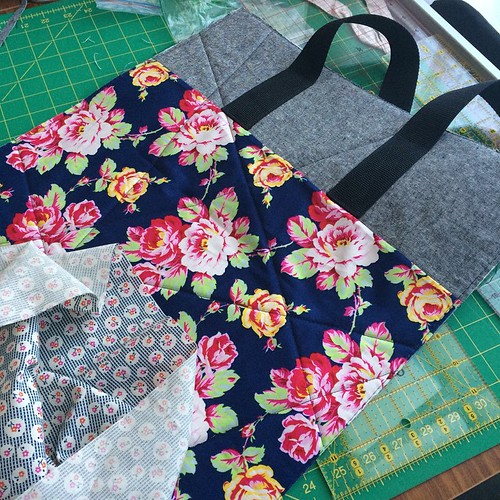
Another tote in progress. This is your fault @adrianneonthewindyside I think I'm addicted too. Thanks again for tutorial #ihaveafabricproblem #ihaveatotebagproblem 

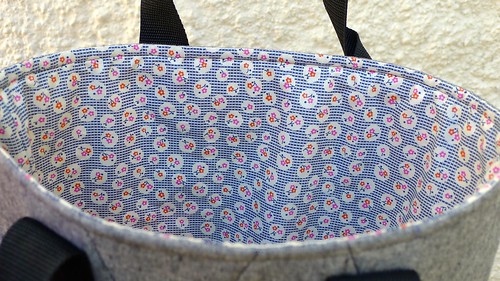
Ester's bag 

Inside Ester's bag

While at Wellington Quilters Guild meeting last Thursday, I saw Helen (another Helen!) who blogs at My Inner Thread carrying a bag that looked familiar.  “Is that an Adrianne tote?” I asked.  “Why yes it is” she replied.


Tote by Helen Bevan who blogs at http://myinnerthread.blogspot.co.nz/

Helen made her own straps using the main exterior fabric from the bag.

I have one more tote planned for my non-quilty friend who may or may not like the handmade item.

My next tote

How can you not like something handmade!?  My non-quilty friend just phoned while I was typing this and demanded I come up with an acronym, as she didn’t like being referred to as a “non-quilty friend”!  Anyone have any ideas?

Thanks Anne!  Anne has the most amazing stash and she's very generous with her fabric and her support.  Seeing all these lovely variations on this simple tote really makes me want to make another one for myself!  If you've made one, let me know - I'd love to see it!  Kiwis, don't forget you can get Soft and Stable from Stitchbird now.

Follow on Bloglovin

Friday, 24 October 2014

Guest post from my mum: Twenty-three bubbles

Hi everyone - today my mum is guest posting about her latest quilt finish.

Hello I’m Adrianne’s Mum, Lynley. Adrianne asked if I would like to do a guest post about this quilt I recently finished. My response was not hugely enthusiastic, more shrugs and maybes than “of course, I’d love to dear”. I feel like a bit of a fraud writing a post about quilting as I haven’t been doing a lot. but I’ll give it a go.


Most of the fabrics are charm squares from the 2wenty Thre3 range by Eric and Julie Comstock and were bought, on impulse, at the end of an online order.  The impetus to make a quilt was a New Year’s resolution to make use of impulse buys and also to get back into quilting again with some small, simple projects.  The block used is called a Disappearing four-patch.  I probably first saw it on pinterest and then found a video on Missouri Quilts of a quilt being made (this one, I think). The piecing looked fun with enough of a challenge to keep me going.  Once the blocks were made I decided to loosely group the strong yellows and oranges together.


The two borders were added and then, the perennial, vexing question.  How to quilt?  Straight lines and monofilament have been my preferred safe approach, but I was keen to add some curves.  After weeks of sitting folded on the sewing table and periodically spread on the floor and puzzled over, Adrianne suggested quilting concentric circles.  This fitted the bill nicely.

The first circle was marked using an inverted large glass mixing bowl, and then sewn with a walking foot. I continued, in an outwards direction, quilting circles 3/4 inch apart using the walking foot guide. The smallest 3 or 4 circles were marked using a compass and also sewn with the walking foot. The smallest “circle” is rather wonky and is the best I could manage. In the middle is a slightly wonky plus. If I was making this quilt again I would centre the smallest circle around a patterned part of the quilt, not a plain square!


The binding is made from the back of the quilt. To do this, carefully trim the excess batting away and then trim the backing fabric 3/4 inch from the edge of the quilt and fold in half and press. The corners are then folded diagonally and then the rest of the backing, now the binding, is folded over the edge of the quilt. This will create mitred corners and the binding can be hand or machine stitched down (although with either method you will need to stitch up the mitred corners by hand first).


I enjoyed all parts of making this quilt and have a sense of satisfaction with the finished article.

Thanks Mum!  Mum has definitely been overly modest in this post.  She hasn't been quilting a lot lately, but she's really an accomplished quilter and her quilts are always impeccable.  She taught me to sew and all the quilting basics, which I still use today.

Thursday, 18 September 2014

Non-quilty Guest Post

Hello everyone!
Adrianne has been super busy doing lawyer things this week/weekend/all the time so she asked if I wanted to sew something so that she had some content. I'm pretty sure she was joking but nevertheless here are some pictures of a top I adjusted in a fairly slap-dash manner.

If you buy clothing online like I do, you'll know that it can be a bit hit-and-miss in terms of how things fit and what they actually look like in your hands. This top is actually from a local chain (Glassons) but you got a discount for your first online order and since I was going to buy it anyway I figured I may as well get it for a bit less. It's a t-shirt in style but it's made of a non-stretch silky polyester. It has a cute print of little stars, crabs and sharks on it BUT it's quite long and made for a lady with rather different proportions to me. Thus, its fits weird: 

Bad.
So tight.
Why.

I've been wearing it tucked into stuff at the waist but I don't get that much use out of it because I can't just wear it with anything. I've been adjusting a few things lately and decided this probably wouldn't be too complicated of a project. 
It has a stepped hem with a little 3" split up the side which was handy as it meant that I could just move the start of the split up a little bit, trim a few inches of the bottom (lucky it was long to begin with) and the split would leave me hip room. 


I unpicked the sides a random amount, tried it on an then marked where the split would start. Having a sewing obsessed sister who has everything including the sewing machine you learnt to sew on made everything quite easy. I sliced the extra fabric off with her rotary cutter and it was so much easier than marking a line and snipping with scissors. The fold from the side seam meant I could just stitch these down to re-form the split and then I hemmed the bottom with your basic fold-twice-then-sew technique.

I'm pretty happy with how it turned out, I'm definitely not an expert and I (mostly) know my limits. I never try to do anything with knits 'cause that stuff is tricky! Now that disclaimer is out there, the results:
The comfort.

The freedom. I did actually iron it...


I'll be back on Saturday with some cat pictures.
PS it's Adrianne's birthday - wish her a happy one!