As promised last week, here is a tutorial for my new favourite method of making cushion backs, which involves a covered zipper. Here it is in action on the back of my Falling Softly cushion. By the way, I am going to use the term cushion in this tutorial, but for my US readers, I mean pillow. It's the thing you have on your couch, not the thing you sleep on.
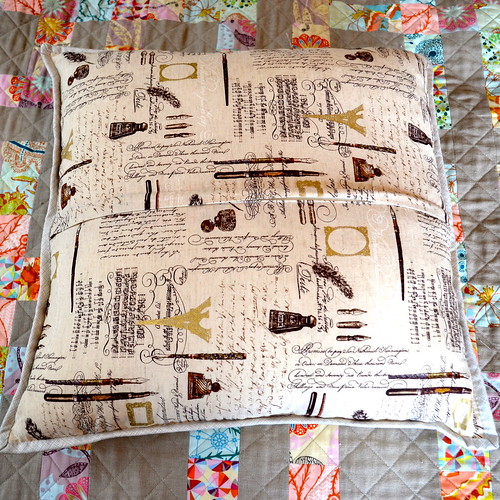
I really like this method because it is quick, it is neat, and it is quite economical with fabric. I promise it is not difficult if you work through it step by step, but it's also one of those things that's not completely obvious at first. Give it a try anyway - I think you'll like it!
Materials:
Materials:

- A piece of fabric at least 4" taller than your cushion front and at least 2" wider than your cushion front
- A zipper at least 2" wider than your cushion front
- Zipper foot
- Edgestitch foot (if you have one)
- Sewing machine and the usual tools like scissors, thread, needles, seam ripper, etc.
For this tutorial I have used a linen cotton blend fabric, which is slightly heavier than quilting cotton. This technique will work equally well with anything from quilting cotton to upholstery weight fabrics (although if you get into really thick fabrics it will get a bit trickier).
Step 1:
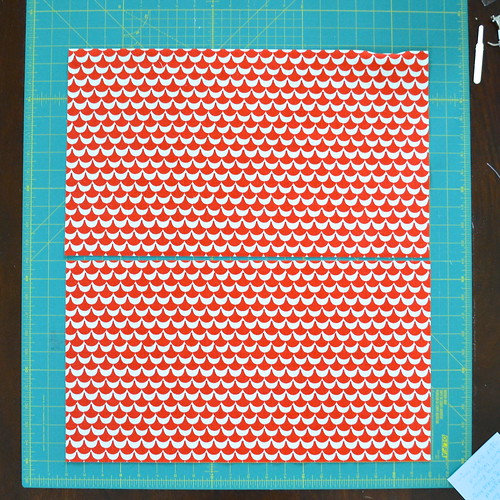
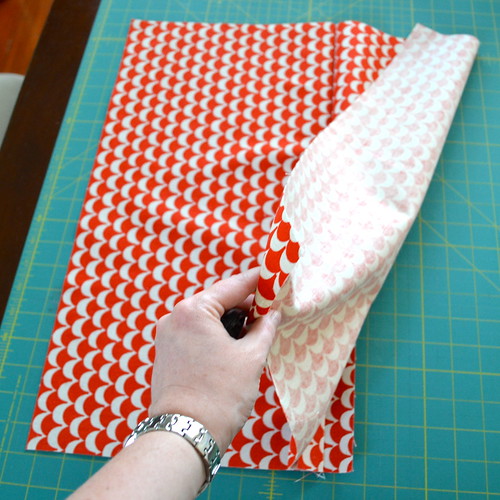
Cut the fabric approximately in half along the width of the fabric.
Step 2:
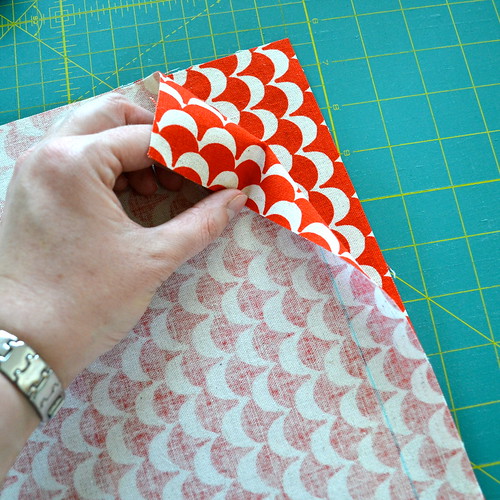
Sew the two pieces together using a 1" seam allowance. You are going to unpick this seam later, so it's best to use a basting stitch to make that easier. I just use the longest stitch length on my machine, but if you have something more modern, you might not need to go that extreme.
Confession time - I can't sew a straight line unless it's marked or I'm using my quarter inch foot with a guide. I marked the 1" seam allowance (the light blue line in the picture above) - feel free to do the same! Also, if you are using a directional fabric (like me), be aware of how the print will run when the two pieces are stitched together. In the photo above you can see that I'm checking to make sure the print will run the same way on each piece.
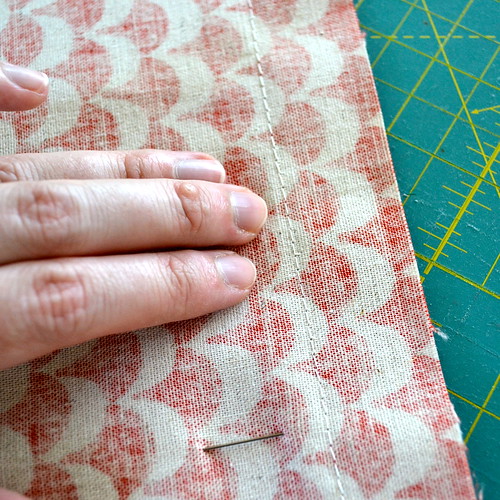
This is the seam after it is sewn - you can see that the stitches are longer than normal.
Step 3:
Press all the layers of the fabric except the right hand seam allowance to the left.
Step 4:
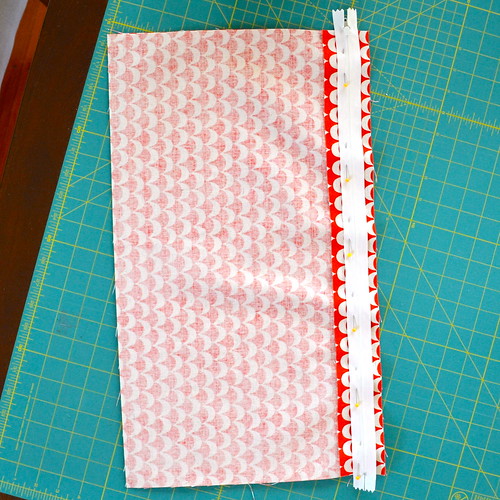
Lie the zipper, teeth down, along the seam allowance. Make sure the teeth line up right along the seam.
Pin in place. We are going to stitch down the zipper tape on the right side of the zipper teeth, so if you pin the left side of the zipper tape you will be able to leave the pins in place as you sew.
Step 5:
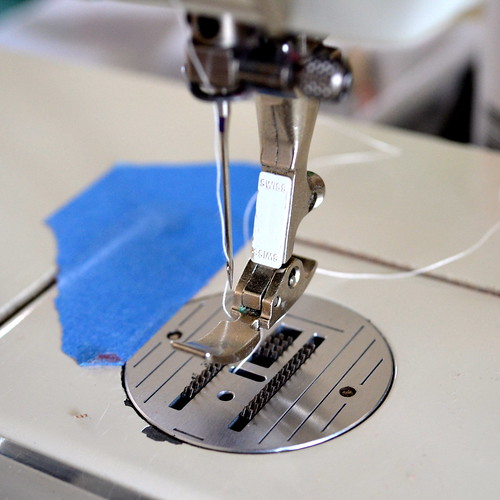
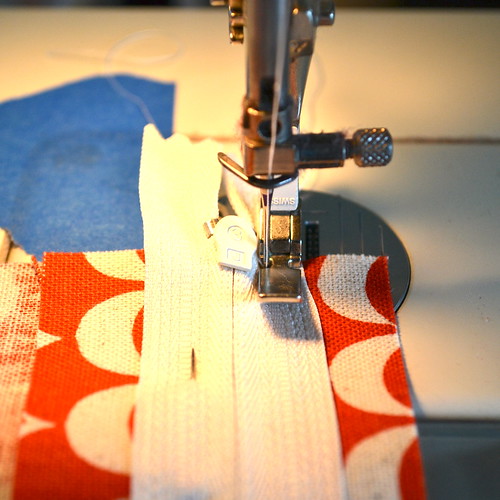
Put your zipper foot on your machine and move the needle all the way over to the left.
Stitch down the zipper tape to the right of the zipper teeth, keeping your needle nice and close to the teeth and using a normal stitch length. I find using the woven lines in the zipper tape quite useful for keeping my stitching straight.
Step 6:
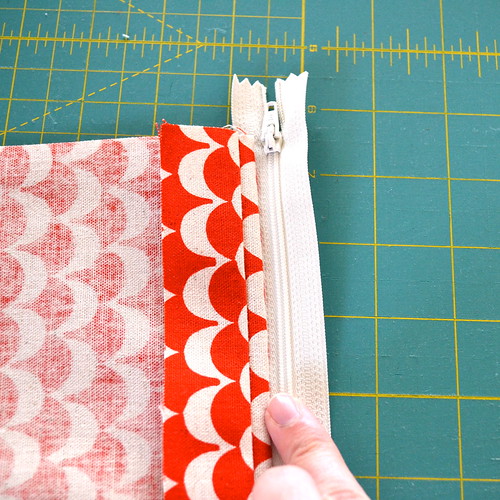
Turn the zipper face up and move all of the fabric over to the left.
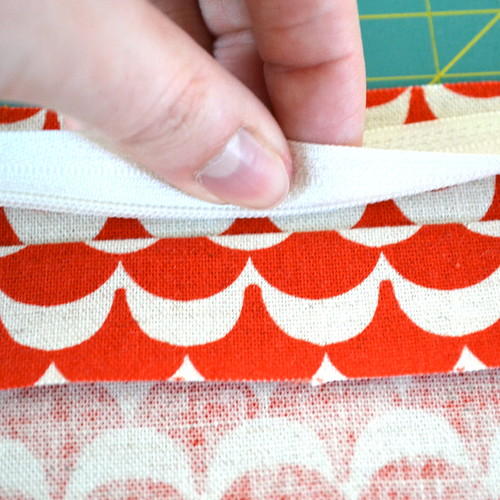
Top stitch along the fold to create a neat edge. If you have an edgestitch foot, this is the time to use it. Otherwise, just use a normal foot and go slowly and carefully - actually you could probably use your zipper foot for this step too.
Step 7:
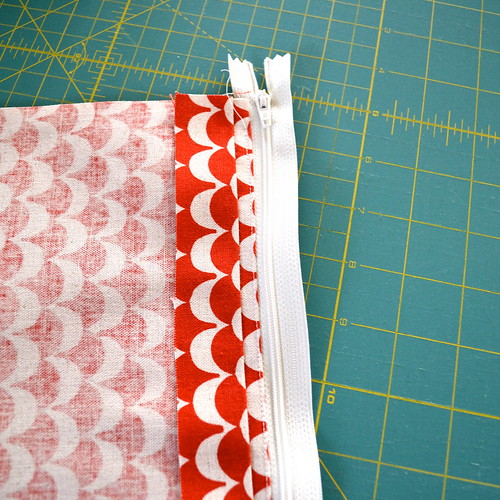
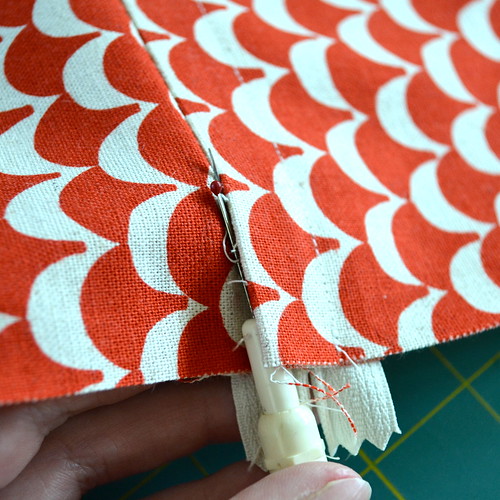
Open out the cushion back so that the zipper is again lying along the central seam face down. Stitch down the zipper tape that hasn't already been stitched in place, using your zipper foot and the same technique as before. You will be sewing through the zipper tape, the seam allowance and the right side of the fabric, and this seam will be visible on your finished cushion, so use a matching thread and try to keep things nice and straight.
Step 8:
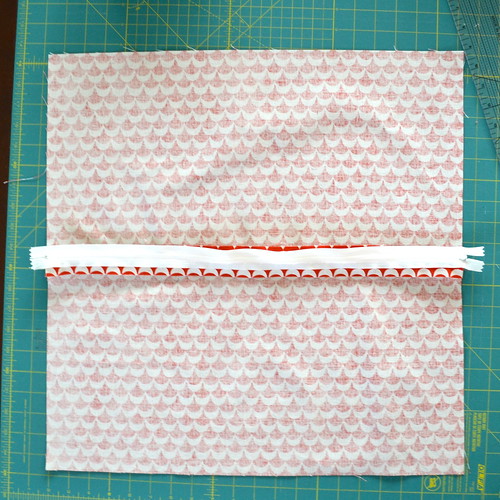
You should now have a zipper that is stitch in place, but trapped under a flap of fabric. Use your seam ripper to carefully unpick the first seam you sewed.
Step 9:
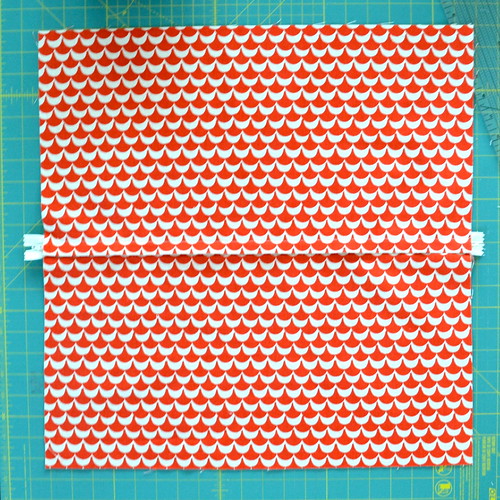
Admire your cushion back!
It is now ready to attach to your cushion front in whichever way you prefer. For my Falling Softly pillow I stitched the front and the back wrong sides together and then finished the edges with a binding like a quilt. This cushion back will be stitched right sides together with the front and then turned out (if you are going to do it this way, make sure you open the zipper before you stitch around the edges!).




22 comments:
thanks for sharing Adrienne! I will definitely be referring to this next time I do a cushion back!
Always on the lookout for better ways using zips, thank you x
If you see a cushion in the next round of the X Factor with a zipper enclosure like this, chances are you may know who made it ;-)
Great tute thank you.
This is a great tutorial! Thank you :)
Awesome! was trying to get my head around this the other day -- now I have a tutorial to follow! thank you!
This is really helpful, thanks Adrianne.
Thankyou - this looks like a great way to make a cushion back. I had a bit of a disaster with my last cushion because I didn't make the overlap big enough. Next time I will try this :-)
Thanks for tutorial, i will give it a go on the next cushion. If people in the US call cushions pillows, what do they call pillows (the things you sleep on)?
Awesome tutorial! I am definitely going to try this on my Christmas snowflake pillow :) yay!
Thanks for sharing! This tutorial is fabulous and just what I needed as I want to have a go over making a cushion cover like this over the weekend.
Thanks for a wonderful tutorial Adrianne!
That's a really clever method! Great tutorial.
Great tutorial!! I always use the envelope system, but with this tutorial and next year move, some cushions are on my to do list.
Thank you!!
Great tutorial!! I always use the envelope system, but with this tutorial and next year move, some cushions are on my to do list.
Thank you!!
Great tutorial, thank you!
You make this look easy Adrianne! I must bookmark this because new cushions are on my 2014 list! Thank you!
I just used this tutorial and I am so impressed with myself! :)It was so clear and easy to follow! Thank you, thank you for upgrading all my future pillow backs!
I've just used this tutorial and it worker brilliantly - thank you!
I want to add my thanks to all the others for the pillow zipper tutorial. I've done them many times in the past, but it's been a long time and I just couldn't figure out how to do it! I looked at other tutes on other blogs, but yours was the easiest to follow. So, thank you! I love your blog and your projects!
Hi Adrienne! A quick question about your tutorial; will the cushion back end up a big bigger than needed, since you're starting with too-large pieces?
o
Reply
You have such great tutorials and great ideas. Thanks so much for sharing with us!
Gretta Hewson
Veritable Maid Service Warwick NY website
I have used your tutorial loads of times in the last few months - it’s my “go to” when making cushions. Thank you!
Post a Comment