
So, way back when I first started reading quilting blogs, people would write about their "design walls" and I was pretty skeptical. I mean really, isn't taking over a whole wall in your house just for quilting stuff a little bit excessive?

And then I got sick of laying quilts out on the floor and the cats running over my careful layouts and disturbing them, so I made this really excellent "temporary" design wall with batting and painter's tape. Well, my skepticism ended pretty quickly after that. It's wonderful having a vertical surface to lay quilts out on!
So that "temporary" design wall became essentially a permanent fixture. There were two problems though - it was too small, and from time to time the painter's tape would give out and I would come home to find the whole thing (and usually a quilt layout) on the floor. Not ideal. So I decided to bite the bullet and put up something more permanent.
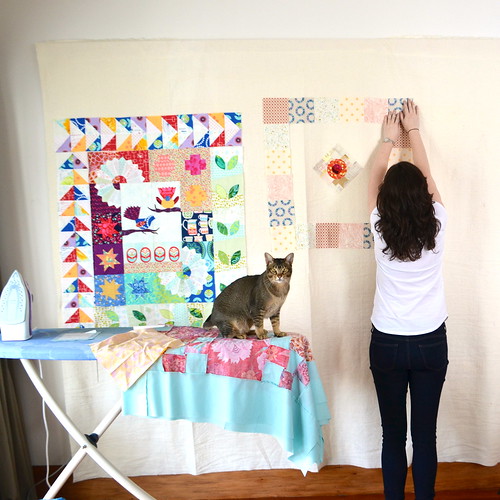
This is my nice big new permanent design wall. It's 85" high by 100" wide, so has plenty of space to lay out a large project (or to work on several small projects as I'm doing here). I stuck with batting as my surface of choice - I did think about using a flannel sheet or similar but fabric doesn't stick as well to flannel as to batting and I didn't want to have to pin everything on.
I don't have much in the way of DIY skills but I'm willing to give things a go, and for that reason I was quite proud of my efforts at making this design wall. In case anyone else is interested, I'll describe my method because it was pretty easy and did not require help from anyone else (well, the nice chap at Bunnings (the hardware store) helped me find stuff, but that doesn't really count, does it?).
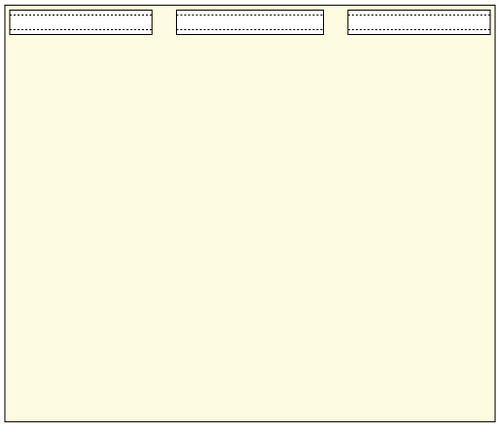
This design wall is hung in essentially the same way as you might hang a quilt, using a hanging sleeve, a long skinny piece of wood and a couple of brackets on the wall. So, first I added a really rough hanging sleeve to my batting. Unlike a quilt hanging sleeve this is not beautifully finished because no-one will ever see it. I just cut a strip of muslin into 3 pieces approximately 30" by 4", and sewed them to the back of the batting leaving a gap in between each. I used the longest stitch length of my sewing machine so that if I ever want to use this batting in a quilt, it will be easy to unpick the stitching.
I then measured the distance between the two gaps in the hanging sleeve. This was important because it dictated where my brackets should go. I then marked the points on the wall where the brackets should go, using a tape measure to ensure they were the right distance apart and a level to make sure they were the same height. I then screwed a plasterboard/drywall anchor (like this one) into the wall at each point. I don't have a drill so I just used a screwdriver for this bit - it took some effort but it really wasn't too hard.
With the help of the nice man at Bunnings (who didn't look at me like I was totally insane when I explained what I wanted to do), I found some curtain brackets that were just the right size to slot the piece of wood I bought into. I screwed them to the wall, slipped the wood through the hanging sleeve, and clipped the wood into the brackets (which conveniently line up perfectly with the gaps in the hanging sleeve) and Bob's your uncle. Excluding the batting, the total cost of making the design wall was less than $30 and it took me a couple of hours, including the trip to Bunnings. Totally worthwhile, and in the absence of any particularly vicious cat attacks, this design wall should last a long time.
So tell me - do you have a design wall? Is it permanent like mine or do you move it around, or maybe you just have a design floor, like I did for the longest time?
Linking up with finish it up friday with crazy mom quilts.
So tell me - do you have a design wall? Is it permanent like mine or do you move it around, or maybe you just have a design floor, like I did for the longest time?
Linking up with finish it up friday with crazy mom quilts.