For the last 18 months or so, I've been designing the block of the month for my local guild,
Capital Quilters. I keep thinking that I really should share the block patterns here, but have never gotten around to it. To be fair, I haven't gotten around to much blogging at all lately. Anyway, here we are! I'm starting off with Spring Chickens, which is the most recent block I designed. Of course, you can change up the colours to suit yourself, but I have left my original colour instructions for the guild.
Here is the link to download a pdf with the
chicken templates. Please note, when printing, you must use the "Actual Size" or 100% scale setting, NOT the "Fit" setting.
I really love the idea of my own free range flock of chickens, and fresh eggs every day. My current house isn’t really suitable though, so for the meantime, these gals will have to do. The point here is to choose fabrics that in no way resemble the actual colouring of a chicken - a medium to large scale multi coloured print for the body, with more intense brights for the wing and comb and dark for the legs so that they stand out from the background. For the background, choose a blue-grey fabric, something a little on the dull side, and with enough contrast to your chook body that you see the outline clearly.
Fabric and cutting
For this block, you need:
- a 9 ½” square of a light or medium fabric that reads blue-grey
- multicoloured light or bright scrap for chook body
- small bright scraps for wing and comb - this will be more effective if the fabric reads as a single colour
- small dark scraps for legs - this will be more effective if the fabric reads as a single colour
- fusible webbing (steam-a-seam, vliesofix, softfuse, etc)
Preparation
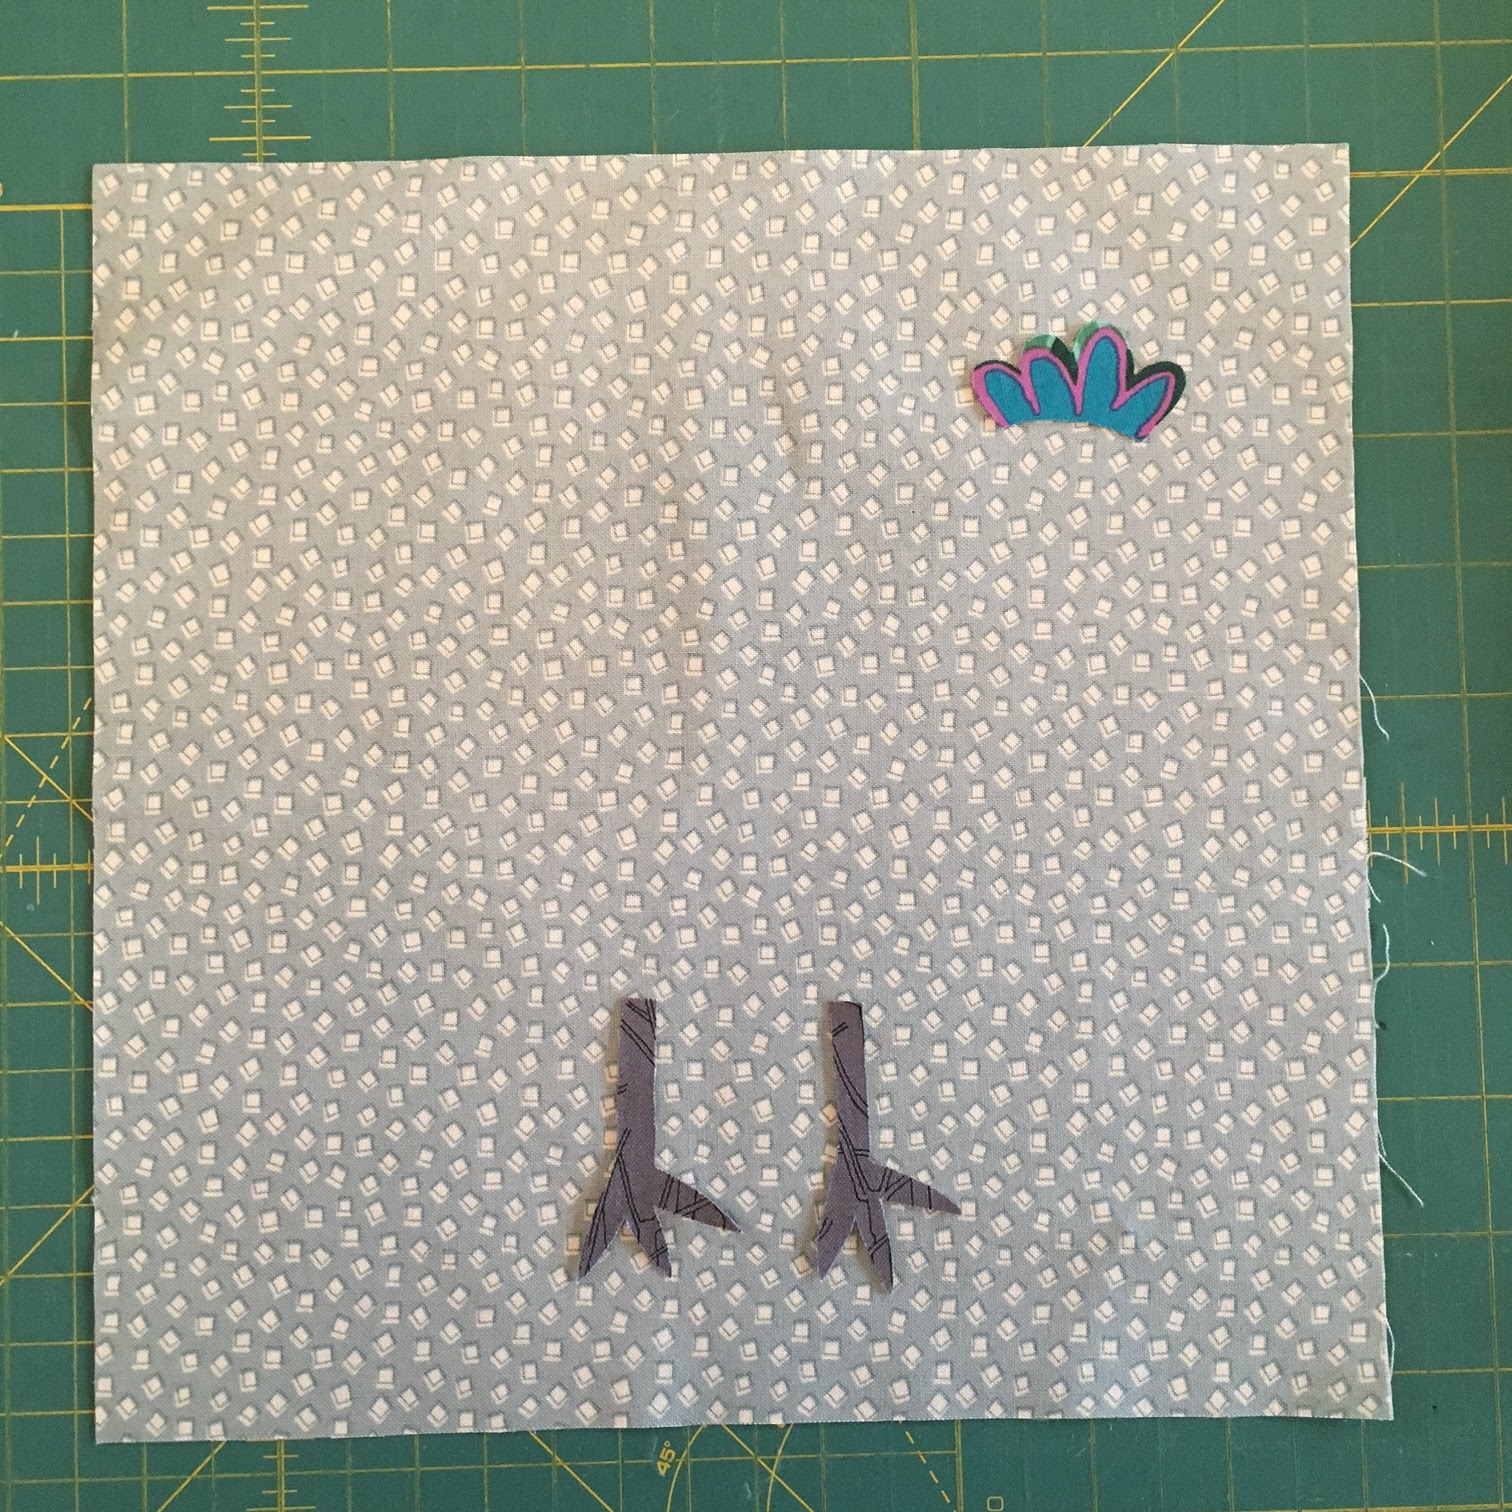
Trace the chook body, wing, comb and two leg pieces onto the back side of your fusible webbing. Cut out, leaving some extra room around the shapes. Fuse the fusible webbing onto the WRONG SIDE of your chosen fabrics. Carefully cut out the chicken shapes on the line you have traced.
Assembly
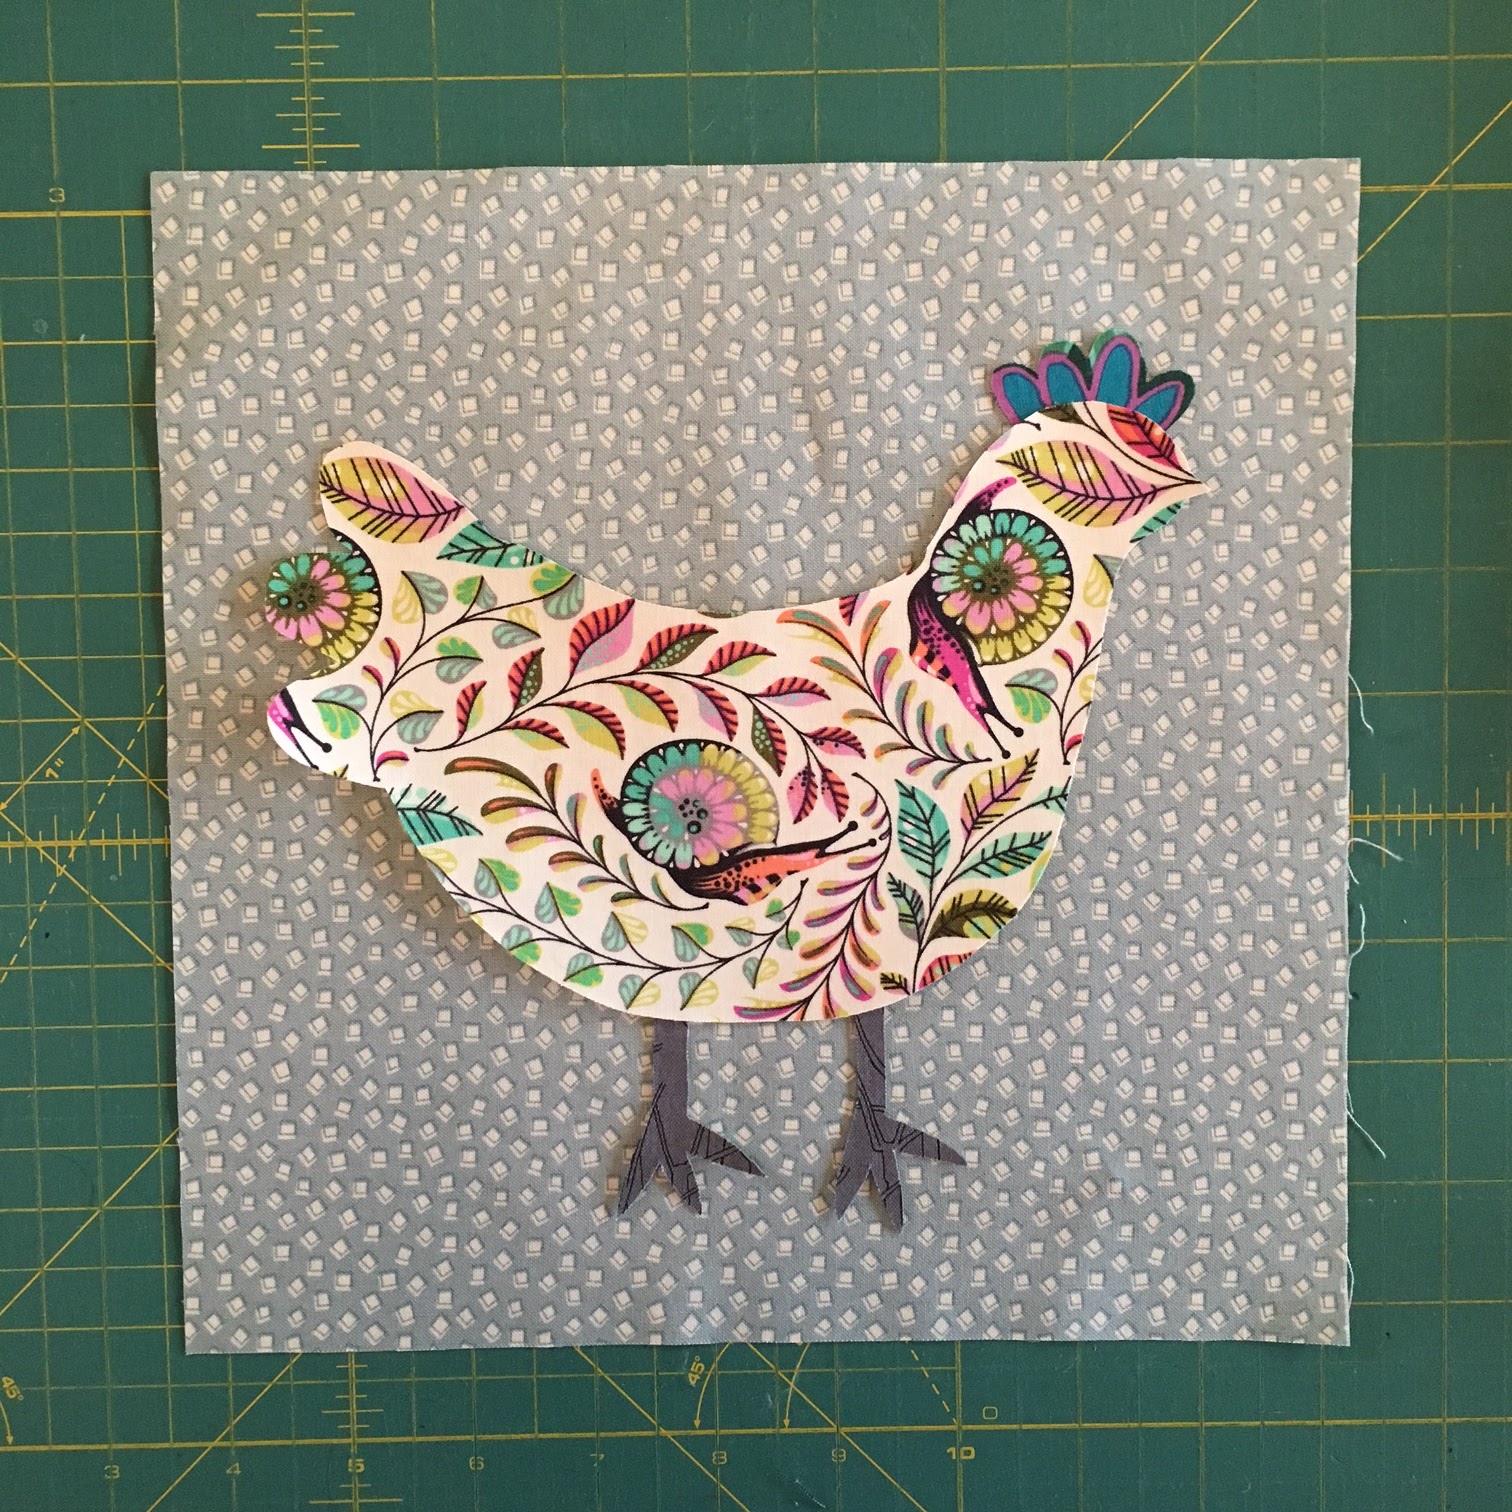
Cut a 9 ½” square from your blue-grey background fabric.
Lay the pieces out on your background square. Make sure there is at least ¾” between the lowest part of the feet and the edge of the background fabric. The chicken body should cover the top of the legs and the bottom edge of the comb, so that you only need to sew around the uncovered edges. Once you are happy with the position of all the shapes, fuse in place.
Using your sewing machine, blanket stitch or zigzag stitch around the chicken shapes to secure them to the background fabric. Use a thread to match your applique shapes (you might have to change colour for the different elements), or an invisible thread.
The block should finish at 9 ½” square.
If you follow me on instagram (
@adrianneonthewindyside), you will see that I have started my own quilt with blocks that are similar to these, but set on point. So far all my chickens are assembled but yet to be stitched down.